Plant care
Bromeliad care indoors: a calm guide to cup, roots, and pups
· Updated
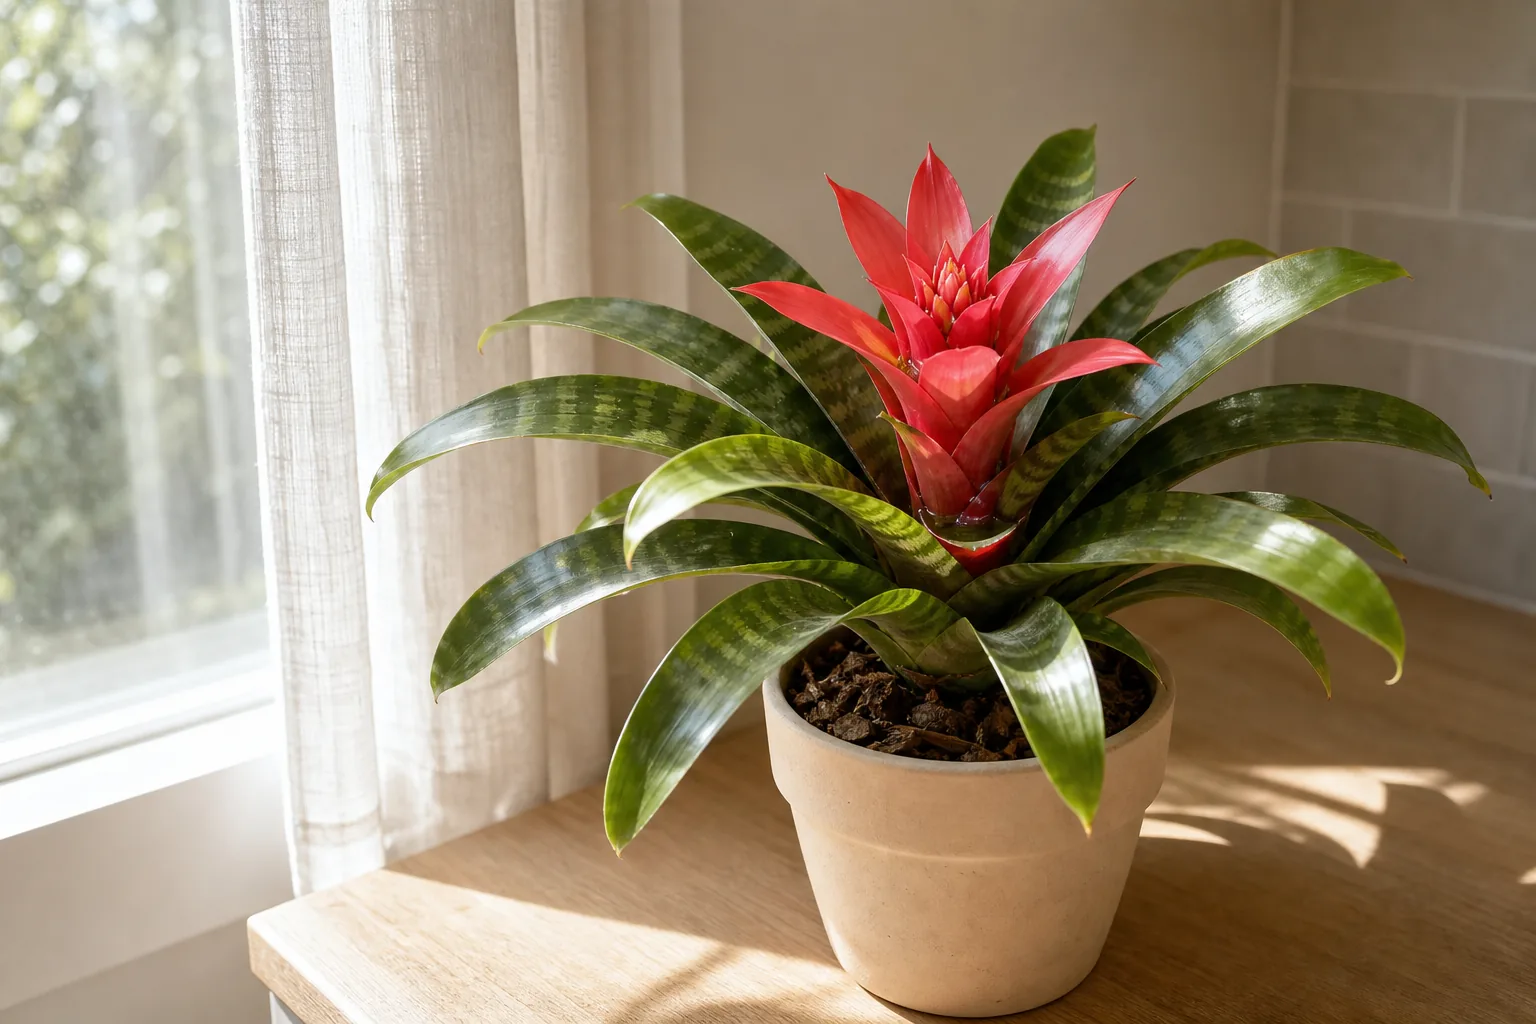
A flowering bromeliad on a kitchen counter is doing something most houseplants are not: it is holding water in a funnel of leaves and waiting for its single show of color to fade before sending up the next generation from its base. The care routine that follows is shaped by those three facts more than by any checklist.
Give the plant bright, indirect light, a snug pot in a fast-draining bark-based mix, and a small amount of water kept in the central cup and refreshed about weekly. Let the potting mix dry between waterings. When the colorful bract fades, treat the small rosettes (pups) at the base as the next chapter of the plant rather than a problem.
This guide is for the potted, tank-forming bromeliads most often sold in groceries and garden centers — Guzmania, Aechmea, Vriesea, Neoregelia, and similar genera. Air plants (Tillandsia) are related bromeliads but are watered by drenching and soaking rather than the cup-and-mix routine below, so they are not the focus here.
What makes a bromeliad different from other houseplants
Three biological features set a bromeliad apart from a pothos or a peace lily:
- A central cup, sometimes called a tank, where the strap-like leaves overlap at the middle of the rosette. In the wild this is where the plant catches rainwater and falling debris.
- Roots that anchor rather than feed heavily. Many bromeliads grow as epiphytes in their natural habitat, holding onto tree branches with roots that do very little of the work of pulling in water or nutrients.
- A bloom-then-decline life cycle. The rosette you buy in color is at the peak of its life. The colorful “flower” is usually a bract (modified leaves) surrounding small flowers, and it can last weeks to several months. After it fades, the mother rosette slowly declines, and small offsets — called pups — appear at the base.
Each care decision below follows from those three traits. The cup is a water reservoir. The roots want air. The pups are not a rescue; they are the next plant.
Reading your room for a bromeliad: bright indirect, not low light
Indoor bromeliads want bright, indirect light. They will survive — but not actively grow or hold their color well — in low light for long stretches. If a pothos or a peace lily is sitting happily in a hallway corner, that is not where a bromeliad belongs.
The simple shadow test from a guide on reading your room’s natural light translates well here: if your hand at midday casts a sharp-edged shadow on the leaves, the light is too direct. A soft, blurry shadow, or no shadow at all, means the spot is more shaded than a bromeliad really wants. An east-facing window, or a spot set back a foot or two from a south or west window, is usually a fair bromeliad home.
Two qualifications worth keeping in mind. In general, stiff-leaved bromeliads handle brighter spots and softer-leaved ones tolerate a bit more shade, so the same window can suit one plant better than another. And a bromeliad that has been in the same south-facing window all summer can bleach — pale, washed-out patches — even when the air temperature stays comfortable.
The central cup: how to water it without causing rot
The cup is the main water reservoir for a tank bromeliad. Clemson University’s Home & Garden Information Center recommends keeping the tank filled with water while letting the potting mix dry between waterings. That two-sided instruction is the heart of bromeliad watering: water in the cup, dryness around the roots.
A practical reading looks like this:
- Pour a small amount of water directly into the central cup — enough to sit at the base of the innermost leaves, not so much that it floods the mix.
- A starting rhythm is to empty and refill the cup roughly once a week; refresh more often in warm, dry rooms and less often in winter. The clearest guide is what you see and smell — if the water turns greenish or murky, develops a sour or swampy smell, or collects visible debris, refresh it sooner. This is the same approach as watering by feel rather than a calendar: let observation set the rhythm.
- Let the potting mix dry to the touch before watering it. A damp mix plus a full cup is a recipe for rot.
A short note on water source: hard tap water can leave a faint white crust on the inner leaves and around the rim of the cup over time. If you see that, switching to filtered or rainwater in the cup is a reasonable response. It is something to observe rather than a blanket prohibition.
Pot and potting mix: an airy, bark-based home for shallow roots
Standard peat-based potting soil holds more moisture than bromeliad roots are built to sit in. A mix that stays open and drains quickly — closer to orchid bark or a bromeliad blend — suits them much better. The standard horticultural guidance is consistent across references: keep the mix moist but never wet, with strong drainage. For more on the goal of an airy mix, see choosing a bark-based potting mix.
You do not need a single branded mix. The goal is air around the roots and a quick exit for excess water. A common starting point is roughly half standard potting soil and half orchid bark; the exact ratio matters less than whether water runs through the pot quickly and the mix does not stay soggy.
On pot size, smaller is usually better. Bromeliad roots are mostly for anchoring, and a snug pot keeps the mix from staying damp around them. A snug pot still needs drainage, which is exactly why pot drainage and cachepots matters here: a decorative outer pot that traps water under the nursery pot is one of the most common rot causes for these plants. If the pretty outer pot does not drain, empty any standing water from it after watering rather than letting the nursery pot sit in pooled water.
Humidity, temperature, and drafts in an ordinary room
Bromeliads are comfortable in ordinary indoor temperatures. Clemson HGIC cites 60–85°F as a comfortable range, which is essentially what most homes provide year-round. The thing to actually watch is cold air — a draft from a window in winter, or a sudden chill on a winter porch — which damages the leaves faster than a warm, dry room does.
On humidity, the cup does the heavy lifting. Ordinary home humidity is fine for most bromeliads in most homes, and the cup water itself buffers the rosette against very dry air. If you want to read more about how room humidity actually behaves in real homes, see humidity in ordinary homes. A humidifier, grouping plants together, or a bright bathroom with a window can all help if winter air is unusually dry, but none of them is a requirement.
A quick check on misting: it shows up in some older guides but is largely decorative for tank bromeliads. The cup does far more for the plant than a daily spritz of the leaves, and misting does not substitute for cup or mix watering.
The bloom cycle: what to expect after the color fades
The colorful bract on a bromeliad can last anywhere from a few weeks to several months. Exact timing depends on the genus and on the home’s light and temperature — some combinations stretch the color further than others, and conditions in any given home will shift that.
When the color fades, two things start happening at the same time. The mother rosette loses vigor slowly over weeks or months: outer leaves yellow, the central cup may dry out, and the plant looks less full. At the same time, small rosettes begin to emerge at the base. Those are the pups. They are the plant’s next generation, and they are not a sign that anything went wrong.
It is also worth saying clearly: the mother rosette will not rebloom. Only pups carry the plant forward to the next show of color. Treating this as the plant’s normal life cycle — not as a failure on your part — is the most useful adjustment a reader can make.
Offsets (pups): when and how to separate them
Once pups appear, the question is whether to leave them attached to the mother or to separate them. Both approaches work. Leaving them in place is the least-handling option; separating them lets you start fresh plants in their own pots and keep the strongest-looking offspring.
A rule of thumb used by bromeliad growers is to separate pups when they reach about one-third to one-half the height of the mother rosette — the San Diego Bromeliad Society and similar grower references use this range. At that size they have their own small cup and the start of a root system, and they tend to establish on their own without too much coddling. If you already understand how spider plant plantlets work, the pattern is similar; see handling offsets on a houseplant for the parallel.
To separate, gently remove the plant from its pot and tease the pups away from the mother, cutting into the growing medium between them if needed — a clean, sharp knife or pruning shears is fine. The University of Florida IFAS extension in Nassau County describes essentially this approach and notes that a serrated knife or a small saw works for tougher connections.
Pot each pup into a small container — a 4-inch nursery pot is plenty for the first year — of airy, bark-based mix, water lightly into the cup, and let the mix dry between waterings. The mother can be repotted or composted at this point; she will not produce new pups once her reserves are gone. The first days after repotting are worth observing — see after-repotting observation for what to watch.
Feeding lightly: the cup, the leaves, and what to skip
Bromeliads grow slowly and do not need much fertilizer. A short overview of the standard approach is in the houseplant fertilizer basics guide; the short version for a bromeliad is:
- Dilute a balanced, water-soluble fertilizer to roughly one-quarter to one-half the label strength, and apply either as a light foliar spray or very diluted into the cup.
- Strong doses scorch leaf tips and build up inside the cup — both are easier to avoid than to undo.
- Skip fertilizing entirely if your tap water is already hard and you are seeing mineral residue. The plant genuinely does not need much.
Feeding once a month during the growing season (spring and summer) and not at all in winter is a reasonable default for a tank bromeliad in a normal home.
Common issues: brown leaf tips, fading color, mushy centers, slow growth
A short list of observations and what they usually mean:
- Brown, crispy leaf tips. Often dry indoor air or mineral buildup from cup water. Trim the brown tips with clean scissors if they bother you, and rinse the cup periodically.
- Fading color on the bract. The bloom is finishing its run, not a symptom of poor care. The mother will decline gradually as pups form at the base.
- Mushy center or yellowing lower leaves over weeks. Most often a soggy potting mix. Move the plant to a drier, barkier mix and let the medium dry fully between waterings. A soft, wet center is a more urgent signal than tip browning.
- Slow growth over many weeks. Usually a light problem. The plant survives in low light but does not push out new growth there. A brighter (still indirect) spot is more useful than fertilizer.
- Pests. Mealybugs hide in the cup and at the leaf bases, and scale can appear on the leaves. New plants from a store are the most common introduction, which is why a quick check of the cup and leaf axils when you bring a bromeliad home is a worthwhile habit. Treatment details belong to the dedicated pest pages and a qualified local source — not a one-size-fits-all home remedy.
A short observation checklist for your bromeliad
A weekly glance covers almost everything:
- Light. Are the leaves a healthy green (or their variegated cultivar color), not pale and bleached? If pale, more shade or a step back from the window.
- Cup. Does the water look clear and smell like water? If greenish, murky, or sour, empty the cup, rinse, and refill.
- Mix. Is the potting mix dry to the touch about a knuckle down? If still damp and the weather is cool, wait before adding more water.
- Color. Is the bract still vivid, or is it fading toward green and brown? If fading, the bloom is ending — watch for pups at the base.
- Pups. If pups are visible, are any of them roughly one-third the height of the mother? At that size, separation becomes a real option.
That is the whole routine. Most weeks, nothing needs to change.
Sources
- Clemson University Home & Garden Information Center — Bromeliads
- University of Florida IFAS Extension EP337 — Bromeliads at a Glance
- University of Florida IFAS Extension, Nassau County — Bromeliad pups and the mother plant
- San Diego Bromeliad Society — Potting & Soil
- New York Botanical Garden — Bromeliads Grown at Home