Plant care
How to inspect and isolate a new houseplant after bringing it home
· Updated
Bringing a new houseplant home is a moment when unwanted hitchhikers can arrive along with the plant. Keeping it in its own space for a short observation period while you look it over carefully is a reasonable precaution. It reduces the chance that something small and unnoticed today will quietly spread to the rest of your collection, and it gives you time to settle the plant into its new room at the same time.
It is not, however, a guarantee. University extension services and integrated pest management (IPM) programs describe isolation as risk reduction, not as prevention. Eggs, hidden life stages, or soil-dwelling stages of pests may not show up for a couple of weeks, and no inspection catches everything on the first pass. Treat the routine below as a calm checkpoint, not a seal of safety.
What isolation can and cannot do for a new houseplant
Isolation works because most common indoor pests spend their time on the plant itself or in the upper layer of potting media. If the new plant is in a different room or on a separate shelf for a few weeks, anything that emerges has fewer neighbors to reach. The Chicago Botanic Garden recommends isolating houseplants specifically so pests cannot travel and infest other plants.
What isolation cannot do:
- Catch pests or eggs that are still hidden on day one. Some only become visible days or weeks later as they mature or as the plant responds to indoor conditions.
- Compensate for poor light, drafts, or the wrong watering rhythm. A plant already under stress is harder to inspect accurately and harder to recover from if a problem shows up.
- Replace ongoing observation. A plant that looked clean on day one can develop a problem in week three.
Think of isolation as a quiet pause, not a locked door.
Where to keep a new houseplant during its first weeks
Two things matter when you pick a spot: light and accessibility. The plant should be close enough to your normal routine that you actually look at it, and it should be in conditions that match the plant, not the worst corner of a back room.
A bright, frequently walked-through room is usually a good fit. If you have just one or two other plants, a different shelf or a different side of the same windowsill counts as separation. If you keep a larger collection, a separate room for a few weeks is more practical.
For more on placing a plant in a room, our guide on how to read the natural light in your room before you place a houseplant walks through the same observation habit applied to light.
A close inspection you can do in the first sitting
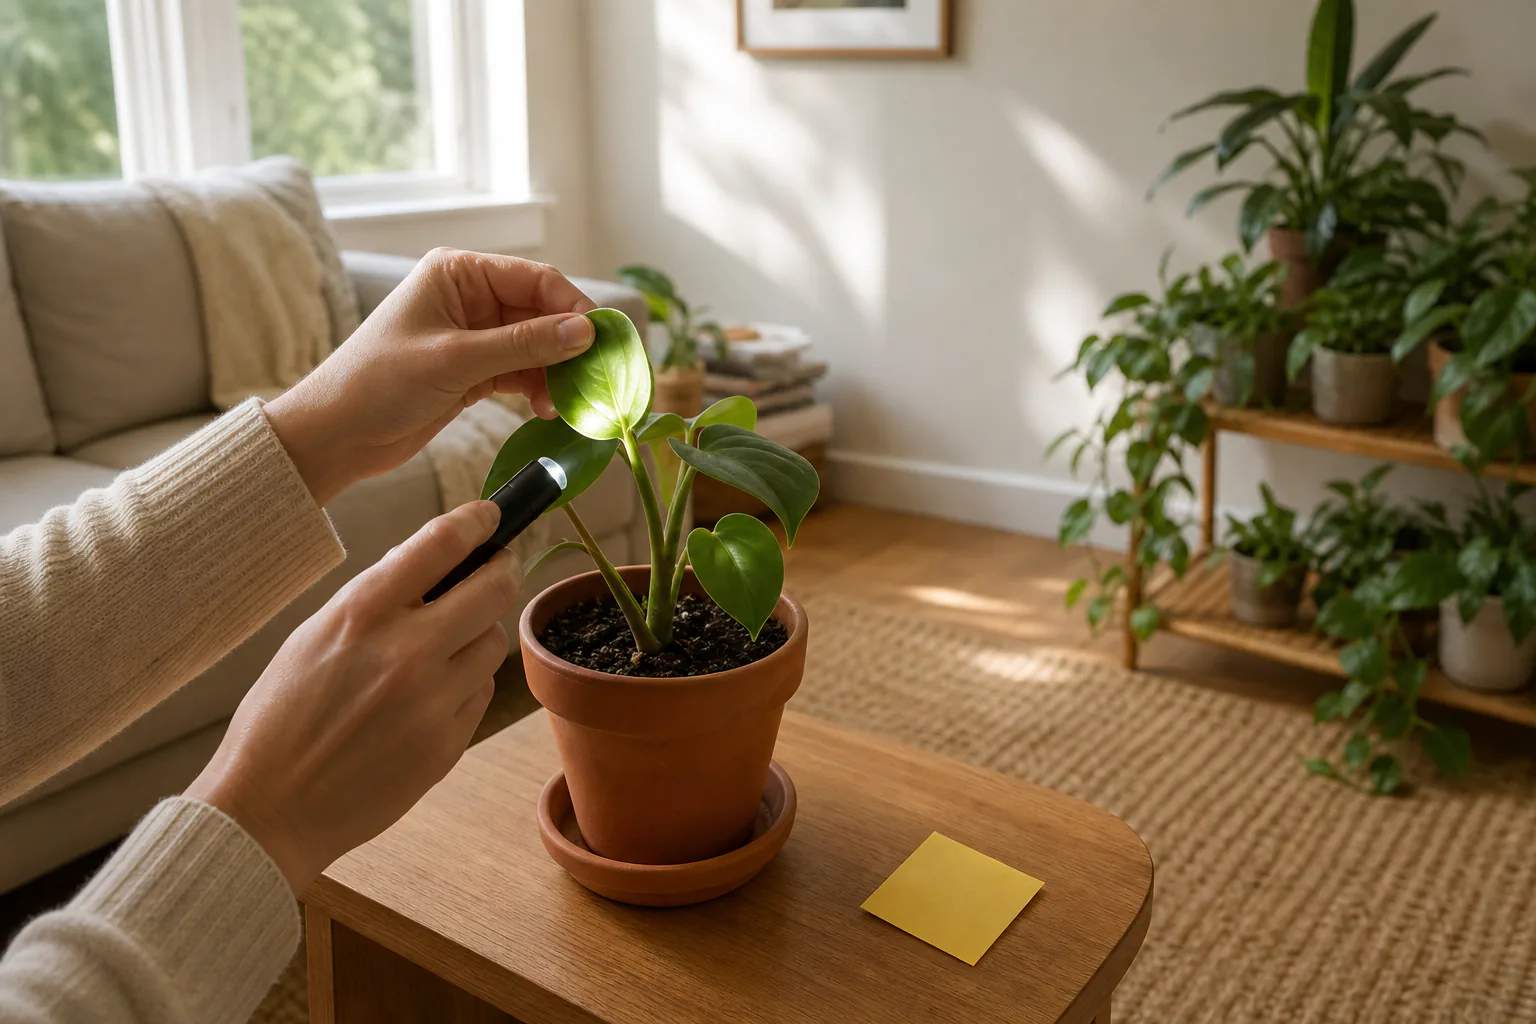
The inspection order extension services recommend is the same one to use here: tops of leaves, then undersides, then stems and leaf joints, then the soil surface, then the pot and drainage holes. A phone flashlight and, if you have one, a small hand lens make a real difference. Many of the pests you are looking for are easier to spot with a little extra light and a little magnification.
A first-sitting checklist:
- Tops of leaves: scan for sticky residue, fine webbing, small moving specks, or tiny pale flecks.
- Undersides of leaves: gently turn leaves over. Mississippi State University Extension notes that many small houseplant pests spend most of their time on leaf undersides.
- Stems and leaf joints: the spot where a leaf meets the stem is a common hideout. Look for cottony tufts, small bumps, or clusters of insects.
- New growth tips: tender growth attracts aphids and thrips first.
- Soil surface: small flies hovering above the soil can be an early sign of fungus gnats in moist media.
- Pot exterior and drainage holes: webbing, grit, or insects tucked under the rim or beneath the pot.
If you want a sense of what a healthy plant should look like in the first place, our guide on how to choose a healthy houseplant before you bring it home describes the same visual cues, which is useful for translating what you find.
Where hitchhikers tend to hide on incoming plants
The pests that show up most often on indoor plants are also the ones easiest to miss on a quick look. Colorado State University lists aphids, scale insects, mealybugs, thrips, spider mites, whiteflies, fungus gnats, and springtails among common indoor plant pests. Extension sources also note that many of these pests shelter in cracks and crevices in stems and other sheltered places on the plant.
A shortlist of what you are actually looking for:
- Aphids: small, soft, often green or black, clustered on new growth.
- Mealybugs: small, white, cottony tufts in leaf joints.
- Scale: small, often brown or tan bumps that do not move and look like part of the leaf or stem.
- Spider mites: tiny moving specks, sometimes with fine webbing on undersides or between leaves.
- Thrips: slender, fast-moving, often leaving silvery streaks on leaves.
- Whiteflies: small white insects that flutter up when the plant is disturbed.
- Fungus gnats: small dark flies that hover above the soil. Their larvae live in the top layer of moist media.
- Springtails: tiny gray or white specks that hop off the soil surface when watered.
This is a list of what is commonly seen on indoor plants, not a ranked arrival list. Some plants will arrive clean. Others will not. The point of looking is to notice what is there rather than to memorize pests.
Hygiene basics while the new plant is separated
A few small habits make the separation more useful without turning it into a project.
- Water the new plant with its own can, cup, or sink session. Do not run it through a shared saucer system with the rest of the collection during the observation window.
- Wash hands and any pruners or scissors between plants. This matters more once you have handled a plant that is showing something, but the habit is easier to keep than to start.
- Keep the new plant on its own saucer, and do not let it drain onto a surface where other pots sit.
- A yellow sticky card placed near the plant is a low-effort way to notice small flying insects over the observation period. It is a monitoring aid, not a treatment, and it will not identify what is there on its own.
UC IPM describes monitoring as the foundation of any decision about treatment. The habits above are common-sense extensions of that idea rather than a specific quoted extension protocol.
How long a typical observation window runs
No single duration fits every plant. The closest reference point comes from production horticulture, where the trade publication Nursery Management reports that production nurseries often isolate incoming plant stock for two to four weeks, even from known growers, as a routine risk-reduction step. For most home collections, about two to four weeks is a reasonable starting window for a new houseplant as well.
The window may need to be longer when:
- You spotted something during the first inspection and want to confirm whether it returns after treatment or a rinse.
- The plant came from a source where other plants have had pests, such as a swap or a cutting from outdoors.
- The plant is one you are especially worried about losing, or one that sits next to plants you cannot easily replace.
- Indoor conditions are cool and dry, which can slow the development of some life stages.
A plant that looks clean at four weeks, responds well to normal watering, and is putting out new growth is usually ready to join the rest of the collection.
From isolation into normal acclimation
Quarantine and acclimation overlap in time but have different goals. Quarantine is about lowering the chance of spreading pests. Acclimation is about helping the plant adjust to the light, humidity, and watering rhythm of its new room. Indoor plant health depends on a handful of factors, including light, temperature, humidity, water, nutrition, and soil, which is essentially the acclimation checklist.
Once the observation period is over, the plant moves from watching to settling in. Our guide on how to acclimate a new houseplant after bringing it home walks through that next step, including when to repot, when to fertilize, and when to leave the plant alone.
When to slow down and ask for plant-specific or local help
A short observation period solves the easy cases: clean plant, no issues, normal settling in. It does not solve the harder ones. Reach out for plant-specific or local help when:
- You find something you cannot identify with a flashlight and a hand lens.
- A problem persists or spreads within the observation window despite simple changes.
- The plant came from a context where pest pressure is more likely, such as a swap, an outdoor cutting, or a plant stored near many others.
- You are weighing any treatment, including sprays, oils, or home remedies. Treatment choices depend on the plant and the pest, and product labels and local extension guidance should come first.
Local extension offices, Master Gardener hotlines, and independent local nurseries are the right next step for specific diagnoses. For toxicity questions involving people or pets, contact a qualified local or emergency resource rather than relying on a general article.
Sources
- Extension Gardener Handbook, Chapter 8: Integrated Pest Management — NC State Extension
- Houseplant Pests — Colorado State University, College of Agricultural Sciences
- Insect Pests of Houseplants — Mississippi State University Extension
- Bringing Houseplants Indoors — Chicago Botanic Garden
- IPM Strategies — Nursery Management