Plant care
boston fern care indoors: a calm, observation-first guide for real homes
· Updated
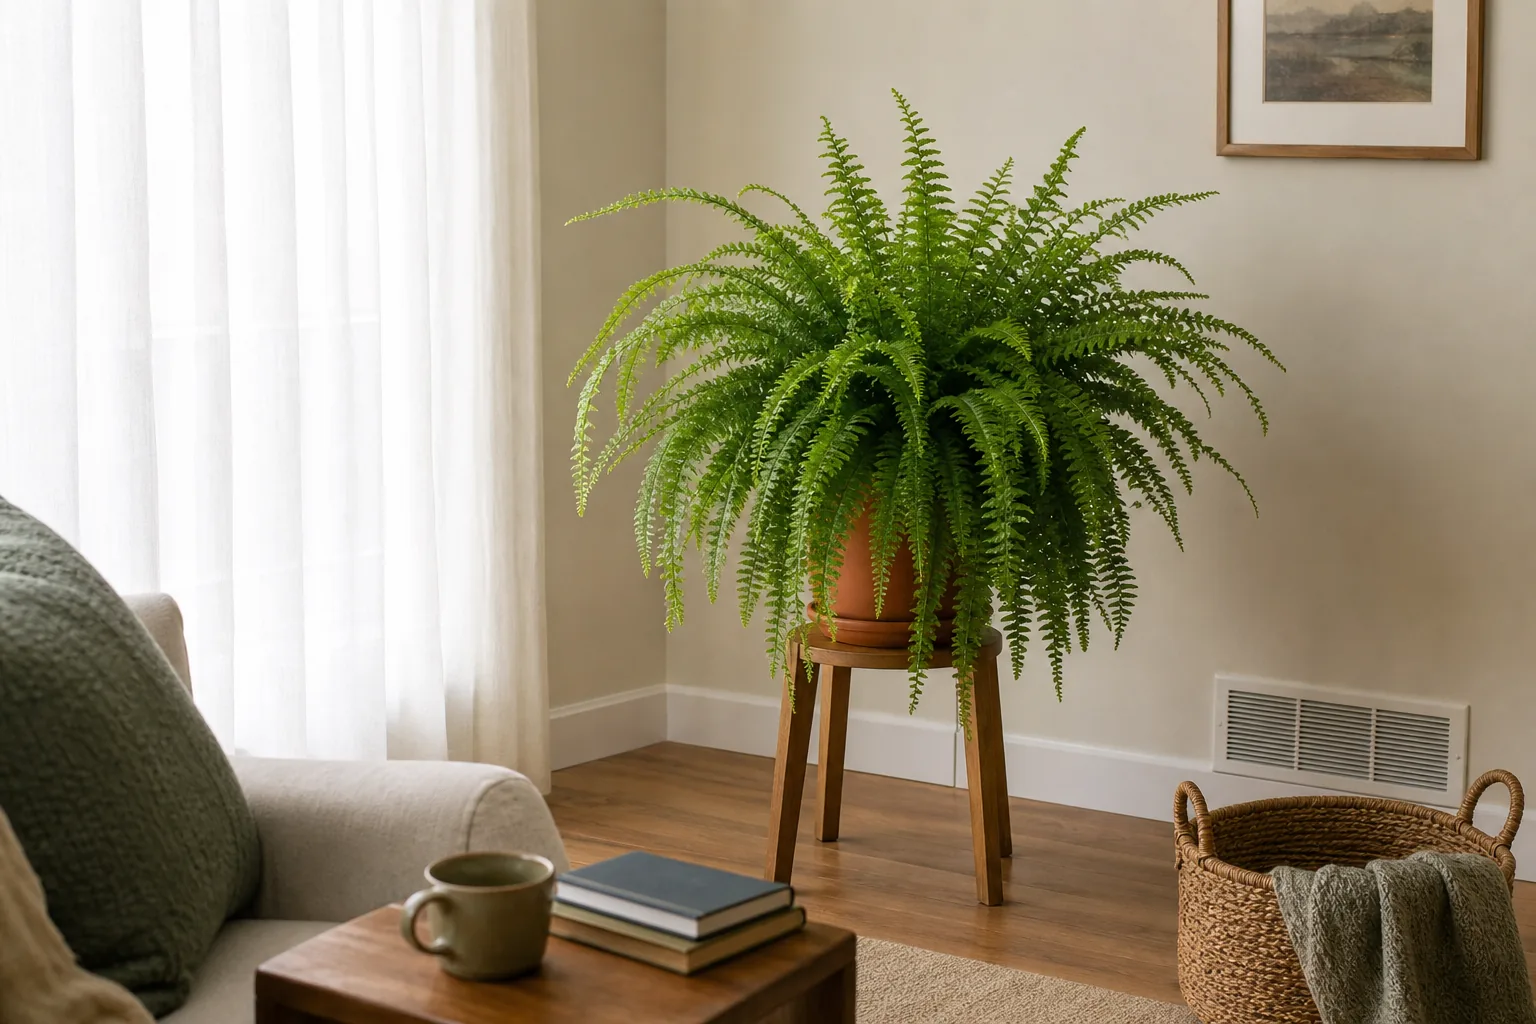
Boston ferns (Nephrolepis exaltata ‘Bostoniensis’) do best in bright, indirect light with evenly moist but well-drained soil, in a room that stays at typical comfortable household temperatures and away from heating vents and cold drafts. They prefer higher humidity than most homes provide, but in practice they stay reasonably full and green in stable conditions, even if they do not look as lush as a greenhouse specimen. If a Boston fern is shedding leaflets or turning brown at the tips, the usual suspects are dry soil, dry heated air, direct sun, or a sudden change in environment rather than a single missing piece of equipment.
What a Boston fern actually is, and why it has a reputation
The Boston fern is a cultivar of the wild sword fern, Nephrolepis exaltata, grown for its long, arching fronds and dense, layered shape. It has been a popular houseplant for generations, in part because it fills a corner and in part because it tends to survive the conditions an ordinary home offers.
Most of its “difficult” reputation comes from a mismatch between what the plant prefers and what an average living room provides: drier air, irregular watering, and windows that either deliver too little light or too much. None of that means the plant is fragile. University of Wisconsin Extension describes Boston fern as easily grown indoors in medium bright light and notes it is fairly drought tolerant once established. The trick is setting up stable conditions, then not fussing with it more than necessary.
It also helps to separate thriving from surviving. A Boston fern in a bright, draft-free room with steady moisture and average home humidity will look reasonably full, green, and tidy. It is unlikely to match a greenhouse specimen, and that is normal, not a failure on your part.
Light: bright, indirect, and out of direct sun
A working definition of bright, indirect light is a well-lit spot where direct sunbeams do not land on the fronds for long stretches. An east-facing window with short morning sun, or a position a few feet back from a south- or west-facing window, both qualify.
A few framings from extension and educational sources:
- University of Wisconsin Extension recommends medium bright light indoors, the practical middle ground most rooms can offer.
- UF/IFAS Gardening Solutions ties light categories to hours of direct sun and window exposure, where indirect light generally means no direct rays falling on the foliage.
- Scotts Miracle-Gro notes that morning sun is ideal for Boston ferns and that full afternoon sun can scorch the fronds.
General patterns to watch for in the plant itself:
- Pale, yellowish new growth can suggest the spot is brighter than the plant prefers.
- Long, leggy fronds with wide gaps between leaflets can suggest the spot is too dim.
- Brown, scorched patches on the side of the plant nearest the window usually mean direct sun is hitting the foliage.
If you want a simple method for judging what a room actually offers, our post on reading the natural light in a room walks through the same kind of observation-based thinking.
Watering: steady moisture without soggy roots
UF/IFAS production guidance for Boston fern calls for soil that is moist but well-drained, which translates at home to evenly moist potting mix with free drainage out the bottom of the pot.
A practical routine:
- Lift the pot before and after watering. A dry rootball is noticeably lighter than a moist one, and this becomes more reliable than any calendar schedule.
- Stick a finger about an inch into the mix. If it feels wet, wait. If it feels just barely damp, water thoroughly until it drains from the bottom.
- If the mix has dried so much that water runs straight through, set the pot in a sink or tub with a few inches of water for 15 to 30 minutes so the rootball rehydrates from below, then drain well.
For a fuller method across plant types, see our post on watering by observation rather than a calendar.
The thing to avoid is letting the pot sit in standing water. Boston ferns tolerate short dry spells better than they tolerate soggy roots, which is one reason a drainage hole and an airy mix matter so much.
Humidity: what “higher humidity” means in an ordinary home
Boston ferns are often described as needing “high humidity,” which can be discouraging if your winter living room sits at 25 to 35 percent. The honest picture from extension sources is more useful than a single number.
- Purdue Extension’s guide to indoor ferns puts around 30 percent humidity as roughly the lower limit a fern can tolerate, and 40 to 50 percent as a more desirable range.
- Nebraska Extension identifies dry air as the biggest obstacle to growing ferns as houseplants, while also noting that many ferns will do fine in typical indoor temperatures and bright light, and some will survive dry air.
The practical move is to treat humidity as a thriving-versus-surviving axis and pick the option proportional to your room:
- Group the fern with other plants. Leaves transpiring together create a slightly more humid microclimate right around the pot.
- Place it in a bright bathroom or kitchen that you actually use, with a working fan or window for ventilation. These rooms run a bit more humid without equipment.
- Use a small cool-mist humidifier within a few feet of the plant if winter air is consistently very dry. This is the most controllable option, but also the most equipment.
For more on which humidity moves actually help and which are mostly theater, see the general guide to humidity in real homes.
A quick note on misting: it comes up constantly. Any leaf-surface moisture from misting is short-lived, and misting does not raise the room’s humidity in a lasting way. It is not harmful, but it is not the fix its reputation suggests.
Soil and pot setup: moisture-retentive but well-drained
A standard peat- or coir-based indoor potting mix with a drainage amendment is a good fit. The peat or coir holds enough moisture to keep the rootball from drying out between waterings, and the amendment keeps the mix airy enough that roots are not sitting in a soggy sponge.
For help reading a potting mix label and choosing a blend for indoor plants, see our guide to choosing a potting mix.
When you pick a pot:
- Choose one with a drainage hole. This is the single biggest factor in avoiding root problems.
- Step up only one pot size at a time when you repot. An oversized pot holds more moisture around the roots than the plant can use.
- If the fern lives in a decorative cachepot, water it over the sink and let it drain before putting it back. Standing water in the cachepot is one of the more common ways indoor Boston ferns decline. Our post on pot drainage and cachepot setup walks through this in more detail.
Temperature, drafts, and the room around the plant
Extension sources give more guidance on placement than on a specific temperature number, so the more useful framing is qualitative: typical comfortable household temperatures are fine, and the bigger issue is where the plant sits in the room rather than the exact thermostat setting.
A few placement rules carry more weight than any number:
- Keep the fern away from forced-air heating vents. Hot, dry air blowing across the fronds is one of the most common causes of crispy brown tips in winter.
- Keep it away from cold window glass in deep winter. Single-pane windows and seals that are not tight can chill the leaves overnight.
- Avoid spots near exterior doors that open often. Repeated cold drafts are not what the plant prefers.
- A kitchen or bathroom that you actually use, with a window for light, is often a calmer environment than a living room in front of a vent.
For more on how vents, drafts, and sun-heated glass affect plant placement, our post on drafts, vents, and hot windows walks through the same placement thinking.
Fertilizer: light feeding only when the plant is actively growing
Wisconsin Extension notes that Boston fern does best in fertile soil or with regular fertilization. Indoors at home, a lighter touch is the safer default.
A reasonable approach:
- Feed only when you can see active new fronds emerging from the center of the plant.
- Use a balanced indoor fertilizer diluted to half the label strength.
- Feed roughly once a month during the active growth window in spring and summer.
- Stop feeding in fall and winter when the plant is not pushing new growth. Fertilizer applied to a resting plant just builds up in the mix.
If you have just brought the plant home, wait several weeks before the first feed so it can settle in.
Reading fronds: yellowing, browning, and dropping leaflets
The fastest way to read a Boston fern is by location and by pattern.
Location: new growth comes from the center of the plant. Older outer fronds naturally yellow and die back over time. If the center is still pushing out fresh green fronds, the plant is fine and the outer yellowing is normal turnover.
Pattern:
- Uniform yellowing of older fronds with green new growth in the middle is usually normal aging.
- Crispy brown edges or tips on otherwise green fronds often trace to dry air, dry soil, or both. Heating vents and missed waterings are the usual culprits.
- Sudden leaflet drop after the plant has been moved, repotted, or has had a light or temperature change is usually a stress response, not disease. Older fronds shed first.
- Black, soft, smelly roots or a mushy crown mean the mix has stayed wet too long and the plant may be heading toward root rot. Unpot, trim damaged roots, and repot into a faster-draining mix.
If brown tips are the main complaint, work through the usual causes in order. Our calm diagnostic order for brown tips covers the same reasoning in more detail and is useful across many houseplants, not just ferns.
Bringing a Boston fern home or moving it to a new spot
A new Boston fern often sheds some leaflets in the first weeks as it adjusts to the light, humidity, and watering rhythm of your room. This is normal and not a sign that you are doing anything wrong. The plant usually settles in once the center is actively pushing new fronds.
Three habits that help during the move-in period:
- Do not repot right away. The plant is already adjusting; let it acclimate first.
- Do not change everything at once. Light, watering, and humidity adjustments are easier to evaluate if you change them one at a time.
- Do not fertilize until you can see new growth. Resting the plant is gentler than pushing it.
If leaflets keep dropping for more than a month with no new growth appearing, the room is probably too dark, too dry, or both, and one small change at a time will tell you which. For a fuller picture of what is and is not a crisis after a move, see our post on leaf drop after a change.
Boston ferns and pets
Boston fern comes up frequently in conversations about pet-safe houseplants. The honest answer is that you should not rely on a social media list or a blog roundup to settle the question. The most reliable verification method is to check a primary toxicology source yourself, such as the ASPCA’s searchable list of toxic and non-toxic plants, and to confirm with your veterinarian for your specific pet. Houseplant Supplies is not a veterinary or toxicology authority and cannot make that call for you.
Our post on choosing houseplants when you have pets walks through how to verify plant safety for cats and dogs before relying on a list.
Common problems and what they usually mean
A short reference list, ordered by how often each shows up:
- Brown, crispy frond tips: dry air, dry soil, or direct sun. Move the plant off the heating vent, check watering, and shift it away from hot afternoon light.
- Yellow fronds, especially older outer ones: usually normal turnover. If yellowing is widespread and the center has gone quiet, look at light and watering together.
- Sudden leaflet drop after a move or environmental change: stress response. Wait and watch for new growth from the center.
- Black, mushy base or roots: overwatering or poor drainage. Inspect the roots, repot into a faster-draining mix, and water more sparingly going forward.
- Tiny webs, sticky residue, or stippled leaves: check the undersides of fronds and the crowns. If you see something suspicious, try to identify it before treating, follow any product label carefully, and contact a local extension service or independent nursery if you want a second set of eyes. Houseplant Supplies is not a diagnostic service.
A simple realistic routine for a Boston fern
A workable rhythm, scaled to the season:
- Place the fern in bright, indirect light, away from heating or cooling drafts.
- Lift the pot to gauge moisture and water when the top inch feels just barely damp. Water thoroughly until it drains.
- Empty any saucer or cachepot within a few minutes after watering.
- Feed at half strength about once a month, only when new fronds are emerging.
- Skip feeding in winter if the plant is resting.
- Rotate the pot a quarter turn each week so all sides get similar light.
- Watch the center of the plant for new fronds. Active new growth is the clearest sign your conditions are working.
A Boston fern that gets these basics right does not need much more from you. It will not look like a greenhouse specimen in an average home, and it does not need to. A reasonably full, green plant that quietly throws out new fronds through the growing season is a successful one.
Sources
- University of Wisconsin Horticulture Extension – Boston fern, Nephrolepis exaltata ‘Bostoniensis’
- Purdue University Extension – Ferns for indoors (HO-141)
- Nebraska Extension in Lancaster County – Dry air is murder on ferns
- UF/IFAS – Cultural guidelines for commercial production of Boston fern (EP550)
- UF/IFAS Gardening Solutions – Light for houseplants