Plant care
Compacted houseplant potting mix: signs and proportionate fixes
· Updated
Compacted potting mix is a physical change in the growing medium inside a pot. Fine particles settle, organic matter breaks down, and the larger spaces that normally hold air and move water by gravity collapse. Confirm what is happening with a few quick observations, rule out a few look-alike causes, and then respond in stages, starting with the least disruptive step and only repotting if smaller interventions do not help.
What compacted houseplant soil actually is
A bag of fresh potting mix is built around pore space: the gaps between particles that hold air after watering and let water drain downward under gravity. Compaction is what happens when those gaps shrink.
University extension services describe compaction as particles being pressed closer together, which reduces the total pore space, especially the larger pores that move water and hold air, and which reduces infiltration, drainage, and root penetration (UMN Extension; Rutgers NJAES FS1313).
In a houseplant pot, this collapse happens gradually rather than all at once. Each wet-dry cycle lets finer particles migrate downward. Roots occupy the core. The organic matter that originally gave the mix its springy structure slowly decomposes. Mixes built mostly from fine peat are particularly prone to shrinkage on drying, which is part of why a gap opens between the mix and the inside of the pot after a dry spell (University of Arkansas Greenhouse Unit 07).
How compaction changes airflow and drainage in the pot
The practical effect is that water and air stop moving through the mix the way they did when it was fresh.
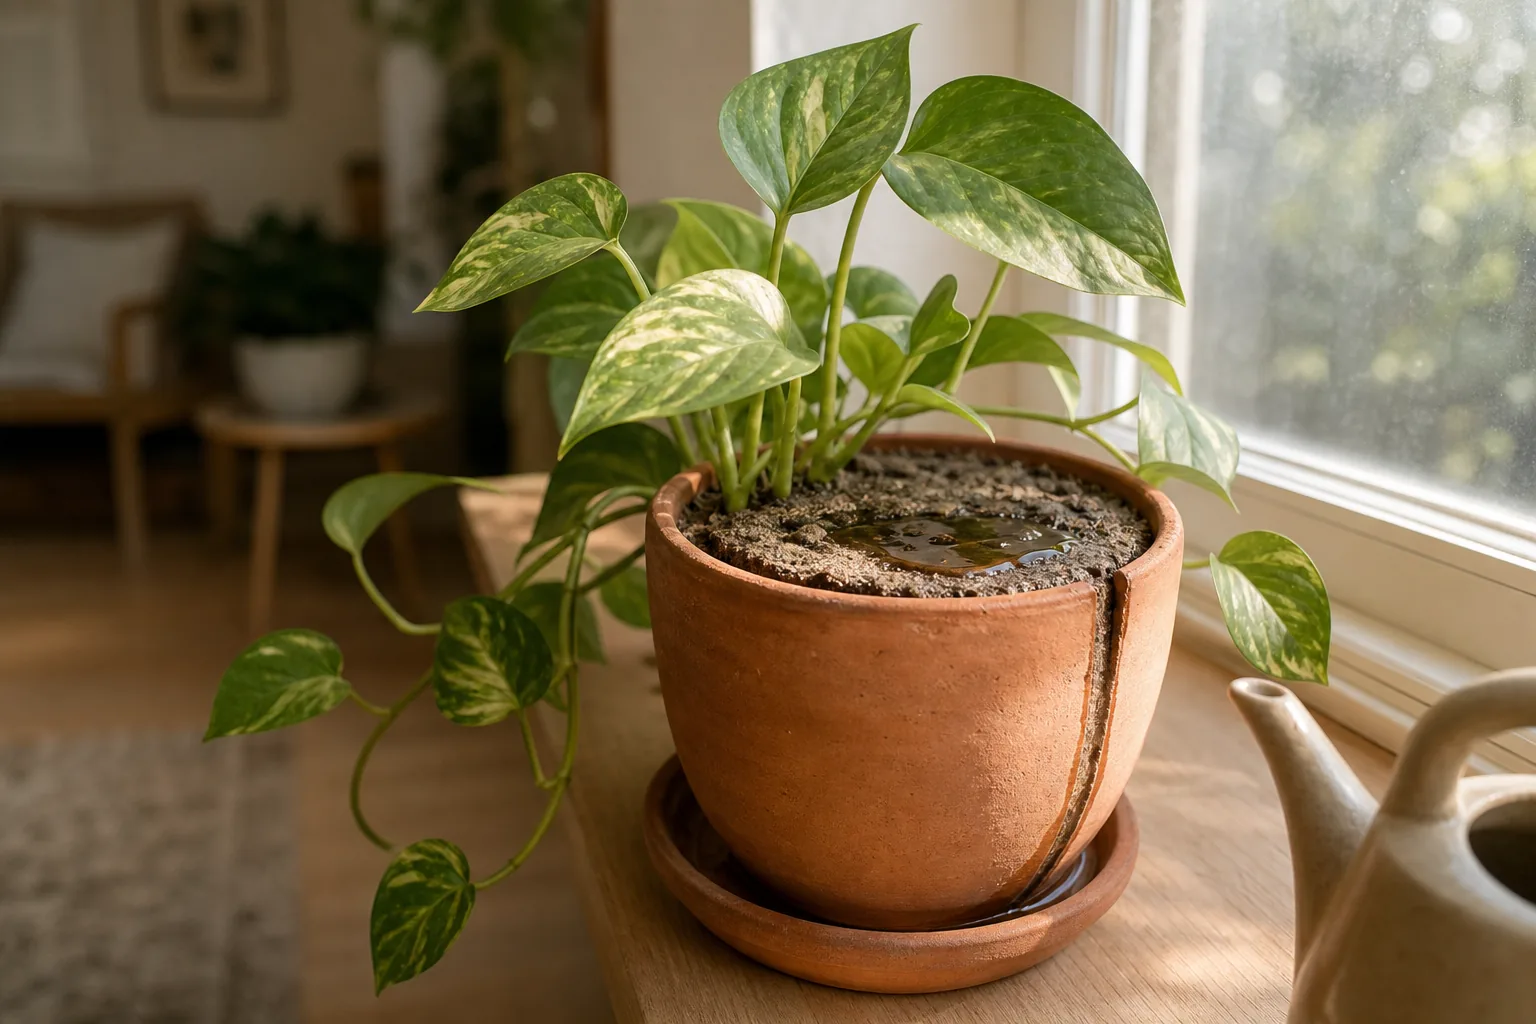
In an open, healthy mix, water poured on the surface moves quickly into the core and gravity drains the excess out through the bottom hole, leaving the large pores filled with air. In a compacted mix, those large pores are reduced or blocked. Water either beads on top, runs down the gap between mix and pot wall, and exits the drainage hole with little of it actually reaching the root zone, or it sits on the surface for a long time before soaking in (UMN Extension).
The result is a root zone that is either too wet in patches the water cannot reach and too dry everywhere else, or one where roots sit in stagnant moisture with little oxygen around them. Slow growth, yellowing leaves, and a plant that wilts after watering are all consistent with this kind of mixed root environment. None of these symptoms, on their own, confirms compaction.
What compacted mix looks and feels like in a real pot
The signs are mostly things you can check in five minutes without any tools.
Water behaviour: when you water, the water beads on the surface or runs down the inside edge of the pot instead of soaking in within a few seconds. Either the drainage hole at the bottom drips almost immediately because water bypassed the core, or it stays dry long after you have finished watering.
Surface feel: a light fingertip press on the surface meets a hard or crusty layer instead of a slightly yielding one. A pale mineral crust can sit on top of compaction, since hard water and heavy feeding leave their own residue.
A gap at the pot wall: in peat-heavy mixes, a visible gap opens between the dried mix and the inside wall of the pot. This is a substrate property as much as a watering problem (University of Arkansas Greenhouse Unit 07).
Tip-out test: if you tip the plant out of its pot, the root ball keeps the shape of the pot, and the material between the roots feels dense and pasty rather than crumbly. Healthy roots tend to be concentrated near the outside of the ball and at the bottom rather than spread through the core.
Weight (a weak indicator): dry compacted mix sometimes feels lighter than expected for its volume, and the same mix fully wetted can feel heavier than a fresher mix of similar size. Weight is an imperfect clue because it depends on pot size, root mass, and how saturated the mix is at the moment.
These are pieces of evidence, not a diagnosis on their own. A plant can show several for other reasons.
Look-alike causes worth ruling out first
Several different root-zone problems produce nearly identical surface signs. It is worth spending a few minutes ruling these out before deciding the mix itself is the issue.
Root-bound root ball: a plant that has been in the same pot long enough to fill it with roots is mostly roots, with little functional mix left. Symptoms of a pot-bound plant include frequent wilting, stunted growth, smaller new leaves, and poor quality foliage (LSU AgCenter), and many of these overlap with what compaction looks like at the surface. The way to test this is to tip the plant out: a root-bound plant shows a tight net of roots holding the shape of the pot.
Hydrophobic dried-out mix: any mix can start to repel water if it has been allowed to dry out completely at some point. Top-watering alone is not enough to rewet it; the water runs off rather than soaking in. Bottom-watering is a recognised first step for this (UC Master Gardeners of Santa Clara County).
Blocked drainage: the drainage hole at the bottom of the pot may be clogged with roots or debris, forcing water to back up. A quick check of the hole and making sure any cachepot is emptied after watering is worth doing; our practical look at pot and drainage setup covers what to look for.
Oversized pot: a pot that is too large for the root system holds a lot of water in the mix the roots have not yet explored. The surface can look and behave like compacted mix while the mix itself is structurally fine, just slow to dry.
Mineral crust vs structural crust: a white crust on the surface is often salts from hard water or fertiliser, which is a different issue from a dense, sealed surface caused by compaction. Both can be present at the same time.
Three response tiers, from least to most disruptive
The point of separating these is to avoid repotting when something smaller would do.
Tier 1: loosen the surface and resume careful watering
Gently poke the upper few centimetres of the mix with a chopstick or skewer, working in a grid of small holes rather than a single deep one. The aim is to restore a few small channels for water to follow, not to dig up the root ball. Then water slowly, in two or three passes, rather than all at once.
If the mix has started to repel water, set the pot in a shallow container of room-temperature water and let it wick up from below for roughly 20 to 30 minutes, until the surface feels moist (UC Master Gardeners of Santa Clara County). Let excess drain afterwards and empty any cachepot.
This tier is low cost and low risk. It does not fix a severely compacted mix, but it can give you a clearer picture of what the plant actually does the next time you water, which makes deciding whether to escalate easier.
Tier 2: a partial top refresh without repotting
If the surface is the worst of the problem, remove the upper couple of centimetres of mix with a spoon or a hand fork, working carefully around the base of the stems. Replace it with a fresh, more open mix and water lightly to settle the new layer.
This is a moderate step. It addresses the layer where compaction and crusting are usually worst, and it lets you judge how the rest of the pot responds without committing to a full repot.
Tier 3: a full repot into a more open mix
A full repot is the most disruptive option, and it makes sense only when smaller steps have not changed how the plant responds to watering, or when tipping the plant out reveals that the root ball itself looks exhausted: a tight mass of roots circling the pot, mostly brown roots rather than pale healthy ones, and little functional mix left between the roots. Our guide on deciding whether a repot is warranted walks through that judgement in more detail, and our piece on when an old mix needs attention covers the refreshed-mix question.
When you do repot, move up only one pot size at a time, work the old mix loose from the roots with your fingers rather than a tool, and use a mix that includes some larger, stable particles rather than only fine peat. Our potting-mix selection guide covers what to look for and what each ingredient tends to do, and our notes on after-repotting care cover the first weeks after the move.
How to reduce the chance of compaction next time
A few habits tend to make a real difference over the life of a plant.
Water in smaller, repeated amounts rather than a single heavy pour, so the mix has time to absorb rather than channel water down the side of the root ball. Plan to repot within a year or two for fast-growing plants, longer for slower ones, or follow our refreshed-mix guide for the timing decision. Choose or amend a mix with coarser particles: perlite, bark fractions, and other coarse mineral or organic chunks help keep pore space open longer than fine peat alone. Our perlite versus vermiculite and coco coir versus peat posts go into the trade-offs between common amendments.
Mechanical compaction also adds up. Pets or children regularly disturbing the surface, or pressing the mix down hard when repotting, can speed the process. Loose, gentle firming is enough to settle a mix around the roots.
When to ask a local nursery or extension service for help
If the root ball looks exhausted, if the plant is declining across multiple watering cycles despite the steps above, or if you are unsure whether you are looking at compaction or something else, a local independent nursery or your regional cooperative extension service can look at the plant in person. For pests, disease-like symptoms, and questions about toxicity for people or pets, follow product labels and contact a qualified local or emergency resource; this article is for educational context only, not a diagnosis.
Sources
- University of Minnesota Extension. Soil compaction. https://extension.umn.edu/soil-management-and-health/soil-compaction
- Rutgers NJAES. Assessing and Addressing Soil Compaction in Your Yard (FS1313). https://njaes.rutgers.edu/fs1313/
- University of Arkansas Greenhouse. Unit 07: Substrates. https://greenhouse.hosted.uark.edu/Unit07/Printer_Friendly.html
- UC Master Gardeners of Santa Clara County. Watering Hydrophobic Soil. https://ucanr.edu/site/uc-master-gardeners-santa-clara-county/watering-hydrophobic-soil
- LSU AgCenter. You can deal with potbound plants. https://www.lsuagcenter.com/profiles/rbogren/articles/page1505480034837