Plant care
What size pot to use when repotting a houseplant
· Updated
If you have already decided a houseplant needs a new pot, the sizing question usually comes down to one number: how many inches wider should the next pot be? The short answer most university extension services land on is about 1 to 2 inches (roughly 2.5 to 5 cm) larger in diameter than the current pot. That range is a starting point, not a rule, and the rest of this article is the observation order that lets you pick between the low end and the high end for your specific plant.
Before sizing up at all, it helps to be sure the plant actually needs repotting rather than fresh mix in the same pot. A quick check of the typical cues — roots circling the surface, water running straight through, a plant that tips easily — is worth doing first. The guide to deciding whether a repot is actually needed walks through that step, and the post on recognizing root-bound cues before sizing up covers what to look for if you slip the rootball out.
The 1 to 2 inch upsize, with honest limits
Clemson University’s Home & Garden Information Center recommends selecting a pot that is “1 or 2 inches larger in diameter than the current pot.” Iowa State Extension advises moving up “only one (maybe two) container sizes.” Penn State Extension is more qualitative: the new container should be “only slightly larger.”
These three extensions describe the same band, and most other indoor-specific guidance falls inside it. Outside of that band, the next pot is usually too small to justify the disturbance of repotting, or large enough to cause problems of its own.
Two things the range is not:
- It is not a precise number that fits every species, every cultivar, and every home.
- It is not a percentage. A “30% larger” rule from a few commercial sources produces an 8-inch pot from a 6-inch pot, which is well outside the 1 to 2 inch guidance for most plants.
How to measure the current pot the right way
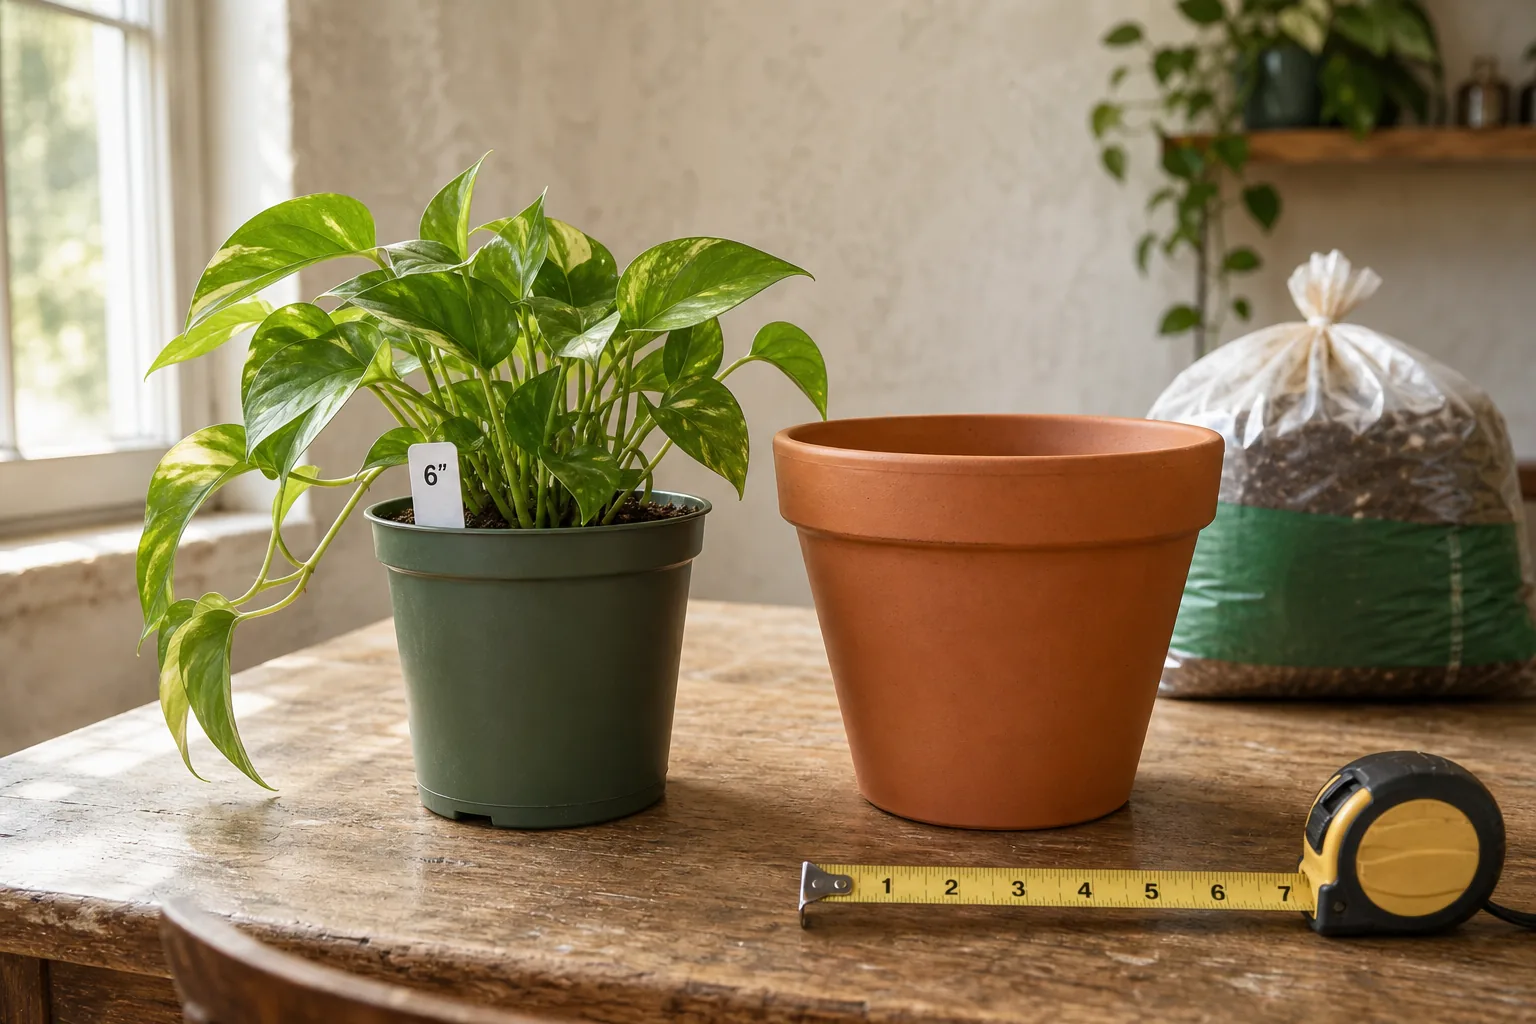
Pot diameter is measured at the rim — the top opening — measured straight across through the center. It is not measured at the base, and it is not measured at the widest point of a tapered body. On a tapered nursery pot, the rim is wider than the bottom; the labeled size refers to the rim.
A few practical points that save real frustration:
- If you do not have a tape measure, the diameter in inches is usually printed on the bottom or side of the pot, or on the nursery tag.
- When you compare two pots at a store, line up the rims, not the bases, before assuming they are the same size.
- Aim to leave roughly a quarter to a half inch between the soil surface and the rim once the plant is potted. Iowa State Extension calls this out specifically so there is room to water without overflow.
Reading the roots to confirm the size step
Before committing to a 1-inch or 2-inch step, slide the plant out and look at the rootball. The way the roots are using the current pot tells you which end of the range to choose.
- A dense rootball that holds the shape of the pot and has visible roots circling the outside is ready for a 2-inch step — the roots have filled the current volume and need somewhere to go.
- A loose rootball sitting in tired mix is usually better served by a 1-inch step and a refresh of the medium, not a larger volume. The post on matching the mix to the new pot and the one on when the old mix has aged out cover that side of the decision.
- A small plant in a 2- or 3-inch starter pot usually only needs the lower end of the range. A 1-inch jump on a 3-inch pot is roughly a third larger; the same absolute jump on a 10-inch pot would be a modest 10% step, which is why large plants tend to receive the wider end.
Why a too-large pot causes more problems than a too-small one
The instinct is to give the plant “room to grow,” but the more common repotting mistake is sizing up too much. The mechanism is straightforward and worth understanding, because it explains why a snug fit usually outperforms a generous one:
- A larger pot holds more mix around the roots than the roots can dry down between waterings.
- That outer ring of mix stays wet longer than the plant needs.
- Wet mix with limited root activity becomes oxygen-depleted. Container-media research from NC State reports that root-zone oxygen levels between roughly 5 and 10% are too low for established root growth, and around 3% roots cease to function.
- An oxygen-starved, moist root zone is the kind of environment where root-rotting fungi thrive.
This is not a guarantee that an oversized pot will kill a plant, and it does not mean a too-small pot is harmless. It means the risk profile skews toward the bigger pot: a slightly small pot tends to dry down well and keep roots active, while a much larger pot tends to stay saturated and quiet the root zone.
When the rule shifts
The 1 to 2 inch band bends at the edges. Practical adjustments worth keeping in mind:
- Very small starter pots (2 to 3 inches). Stay near 1 inch up. Smaller steps matter more when the plant is small.
- Established plants in 6-inch or larger pots. The 2-inch end becomes more typical. Practitioner consensus for fast-growing tropicals such as pothos and philodendron favors the wider end of the range, because vigorous roots colonize new mix quickly.
- Succulents, cacti, snake plants, ZZ plants. Practitioner consensus is to keep these snug rather than roomy. A snug pot dries between waterings; a roomy one stays wet right where the crown meets the roots.
- Plants in 8-inch or larger pots. Even a 2-inch step adds a meaningful amount of mix volume because the same absolute jump is a smaller percentage of total pot. University of Arkansas Extension notes that pot size acts as a long-term ceiling on plant size, which is part of why established plants receive proportionally larger — but still moderate — steps.
Width versus depth, and which the plant actually needs
Most readers ask about diameter first, and that is the right place to start. Depth comes second and depends on the root architecture.
- Plants with shallow, spreading fibrous roots (many ferns, African violets, some begonias) prefer wide and relatively shallow containers.
- Plants with descending taproots or rhizomes that travel downward (some palms, certain herbs) prefer deeper containers that give the root room to descend.
- For most tropical foliage houseplants, a pot with depth roughly comparable to its diameter is a reasonable default — adjust up or down based on the root architecture described above, and remember that snake plants and ZZ plants sit on the shallow end of this range.
Practitioner guidance on container depth generally treats it as a variable to match to root habit rather than a fixed ratio, which is why “depth equal to width” is a starting point rather than a rule.
How pot material changes the size decision
Two pots with the same labeled diameter do not behave the same way.
- Unglazed terracotta breathes through its walls and dries faster than plastic or glazed ceramic of the same size.
- Glazed ceramic and dense plastic hold moisture longer in the same volume of mix.
- Fabric grow bags and air-pots dry fastest and aerate the root zone aggressively.
Practically, this means the same 1 to 2 inch upsize is more forgiving in a terracotta pot than in a sealed plastic one, because the breathable walls help offset the extra mix volume. In a plastic pot in a cool or low-light room, lean toward the lower end of the range.
Drainage and cachepots
A pot with a drainage hole lets excess water escape and gives the reader a margin of error on sizing. A cachepot — a decorative outer pot without a hole — does the opposite. If the plant sits inside a cachepot and the cachepot holds standing water after watering, the effective container from the roots’ perspective is larger than the labeled size suggests, and the same upsize becomes riskier. The post on drainage and decorative pot setup goes deeper into this side of the decision.
A few patterns that reduce the risk without changing the size:
- Empty any standing water from the cachepot shortly after watering — within roughly half an hour is a common practitioner target.
- Double-pot by setting a draining nursery pot inside the cachepot rather than potting directly into a no-hole container.
- If the only available pot is a no-hole decorative one, lean toward the smaller end of the 1 to 2 inch range, since the cachepot effectively extends the wet zone.
After the move
The first weeks after a repot are not the time to push the plant. Most extension guidance describes a short settle-in period: normal light, the first watering based on the new mix’s moisture rather than a schedule, and a pause on fertilizer until you see new growth. The post on the first weeks after moving into a new pot covers that routine in detail.
A reasonable window to re-evaluate the new size is a few weeks to a couple of months after the move, when fresh root tips should be visible at the drainage holes or near the surface. By then, the plant will tell you, in plain terms, whether the new size is the right size.