Plant care
Using a propagation box without trapping too much moisture
· Updated
A propagation box works by holding slightly higher humidity around a leaf or stem cutting than the open room provides, which slows water loss while the cutting has no roots. It only works if the box also breathes. The skill is treating the box as a small environment you observe and adjust, not a sealed incubator: pick a container you can see through, leave the lid cracked or open it on a routine, and read the medium (damp versus soggy) and the cutting base (firm and pale versus soft and dark) for the early signs that moisture has built up faster than the box can release it.
Indoor humidity in real homes varies a lot by room and season, which is part of why the same propagation box behaves so differently in different places; the linked piece on how indoor humidity actually behaves covers the baseline.
What a propagation box actually is, and what it isn’t
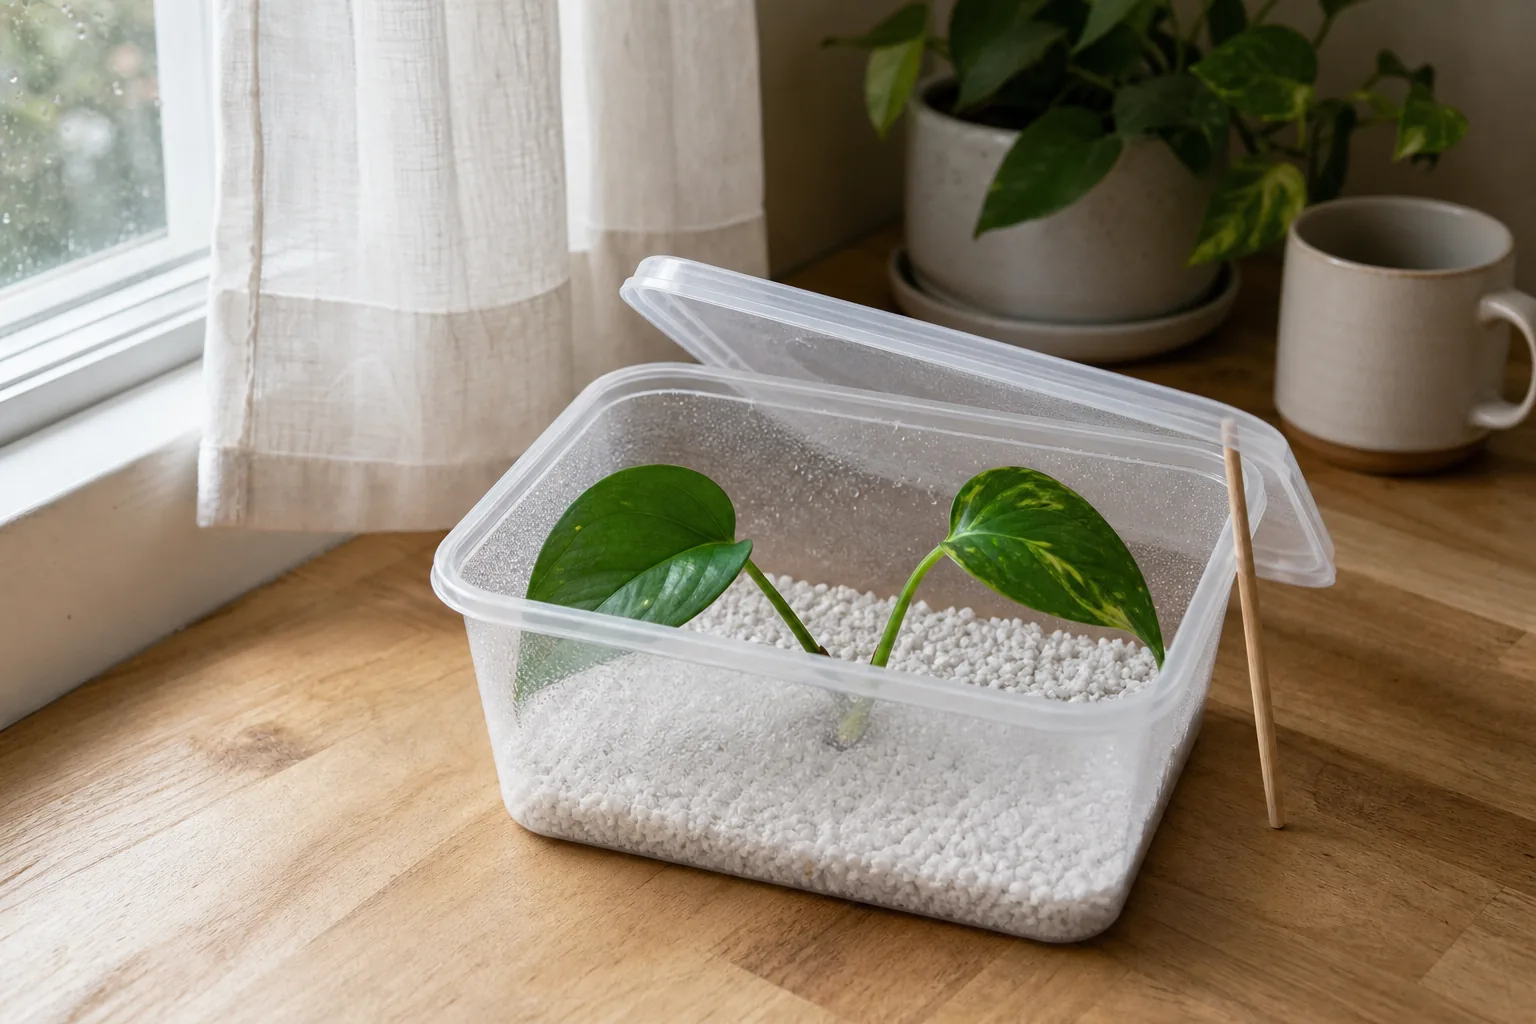
A propagation box is any clear container with a lid that holds a rooting medium and a cutting inside a partially enclosed space. In practice it is usually a clear plastic storage tote with the lid propped on, a repurposed takeout container with a few holes in the top, a purchased humidity dome that sits over a nursery tray, or a glass jar tipped over a single cutting. The point in every case is the same: keep the air immediately around the leaves a little more humid than the rest of the room.
What it isn’t is a sealed incubator. University extension guidance on vegetative cuttings focuses on a balance: the leaves benefit from a humid environment while the cutting has no roots, but the rooting medium has to stay moist, not waterlogged (Michigan State University Extension), and a continuously saturated, stagnant environment around the cutting is something greenhouse propagation guidance specifically advises against (Greenhouse Magazine, “Diseases in propagation”). A closed plastic box can hold humidity, but it can also hold stagnant air, condensation, and a medium that never gets a chance to dry out.
When a propagation box is genuinely useful
A box is most useful when the room is dry, the leaves on the cutting are large or thin, and the cutting has no roots yet. In those conditions the leaves lose water faster than the cutting can replace it, and a slightly humid pocket of air buys the cutting time to callus and push out roots. A box is less useful when the room is already humid, when the cutting is a thick succulent leaf with very little surface area to lose water from, or when the cutting is already showing roots in another medium and just needs to keep growing.
It also helps when the medium is dry enough to need protection from a dry room. A damp medium inside an open container in a heated apartment can dry out in a day. A box slows that loss. The trade-off is that the same box, in a cooler or shadier spot, can keep the medium too wet for far longer than you expect.
What “trapping too much moisture” looks like on the medium and the cutting
The signals are observational, not numeric, and they are the same signals that university and trade-press sources use to describe a propagation environment that has gone too far.
On the container walls
A light mist that comes and goes is normal. Persistent droplets streaming down the inside of the lid or walls mean the air inside is at or near saturation. e-GRO explains that condensation is the visible result of air that has cooled past the point at which it can hold its moisture, so heavy, ongoing droplets are a sign that the air cannot take any more (e-GRO, “Why does condensation happen on your plants?”).
On the medium
A damp medium looks evenly dark and matte. A medium that looks glossy, has standing water on the surface, or releases free water when the container is tipped is waterlogged. Surface mold on the medium is a visible cue that moisture has built up, though the mold itself is usually not what kills the cutting; the stagnant, saturated air that allowed it to grow is the broader problem (Greenhouse Magazine, “Diseases in propagation”).
On the leaves
Leaves that stay turgid (firm, not wrinkled or papery) under the lid are doing what they should. Leaves that look wet for hours, develop water-soaked spots, or have fuzzy growth on them are telling you the air inside the box is sitting too wet for too long.
At the cutting base
This is the signal that matters most. A healthy base looks firm, pale, or callused (a soft, light tan swelling where the cut was made). A base that is going soft, dark brown or black, or that smells sour is showing rot. The IPPS framing is direct: the medium should be moist but not wet, while the leaves need a higher-humidity environment to reduce water loss while the cutting has no roots (IPPS, “Propagation of Challenging Plants”). When the base goes soft, those two conditions have stopped balancing.
Setting up a propagation box that breathes
The setup is simple because the goal is to be able to observe and to be able to vent.
- Pick a clear container so you can see the medium and the cutting base without opening it. Opaque totes hide the very signals you need to read.
- Use a free-draining medium. A mix that holds a lot of water (peat-heavy or finely milled sphagnum) is more likely to stay waterlogged inside a closed box than a coarse, airy mix.
- Pre-moisten the medium until it is damp, not dripping. Squeeze a handful: a few drops is fine, a stream is too much.
- Start with the lid cracked a few millimeters, not sealed. If the box came with a tight-fitting lid, prop it with a chopstick or a folded piece of cardboard so air has a path out.
- Place the box where you can see it and where the temperature is stable. A bright warm windowsill and a cool north-facing shelf produce very different behavior in the same box, because warm air can hold more water vapor than cool air before it saturates.
A short observation routine for the first seven to fourteen days
This is the part that turns the box from a sealed device into a managed one. Most community propagation sources describe some version of a daily or every-other-day check; this is common practice rather than a research-backed schedule.
Each time you walk past, in order:
- Look at the lid and walls. Light mist that clears is fine; streaming droplets mean the box has saturated.
- Look at the medium surface. Matte and dark is fine; glossy, pooled, or fuzzy is a sign to act.
- Look at the leaves. Turgid is fine; wet-looking for hours or water-soaked spots are not.
- Look at the cutting base. Firm and pale is fine; soft, dark, or smelly is the cue to remove the cutting, change the medium, or both.
- Lift the lid for a minute, smell, and close it again. A clean, earthy smell is normal; a sour or rotting smell means the medium has gone stagnant and saturated, which is the same condition university and trade-press sources flag as a rot risk.
NC State frames rooting time as something that varies with cutting type, species, and environment, not as something to schedule (NC State Extension, “Propagation”). Watch the cutting, not the calendar.
Venting the box, opening it, or removing it entirely
Venting is the lowest-cost change, and it is usually the first one to try. Move from a tight lid to a cracked lid, then to opening the lid for a few minutes, then to leaving it off entirely for increasing stretches. Each step gives the medium a chance to release some of its water vapor. If the medium has gone glossy or the cutting base has started to soften, removing the lid for an hour or two is faster than waiting for a slow vent.
A propagation dome with built-in vents is the same idea in a more polished form: the vents exist precisely because the people who designed it knew the inside would saturate without them. A homemade tote with a sealed lid has no vents and saturates fastest, which is why so many first attempts end with a sour smell.
How the box compares to water, sphagnum, and perlite setups
The propagation box is one setup among several, and each setup fails in a different way.
A box over an airy medium like perlite tends to fail from dryness if vented too aggressively, or from condensation and surface mold if vented too little. A box over a retentive medium like sphagnum tends to fail from a waterlogged medium at the cutting base. An open jar of water on a windowsill tends to fail from the cutting base sitting in water that has not been refreshed, which is a different rot with a different cause; the rotting-in-water piece covers it separately.
If your medium inside the box is staying too wet, switching to perlite inside the same box, or moving the cutting to a jar of water you refresh every few days, is a more useful next step than adding anything to the medium. The box itself is rarely the problem; the combination of box, medium, and lid position is the problem.
When to stop using the box and try a different method
Stop using the box, or set the cuttings outside the box, when:
- The cutting bases are softening or darkening, even after you have cracked the lid and replaced soggy medium.
- The medium develops a sour smell or visible fuzzy growth that returns within a day of opening the box.
- Leaves stay continuously wet, develop water-soaked spots, or collapse.
- Roots form in the box but the cutting wilts the moment you remove the lid for more than a few minutes.
In any of those cases the next step is to move the cutting, not to treat it. A cutting with a still-firm base can be re-stuck into a fresh, damp, airy medium inside the same cracked-lid box, or moved to water propagation, or to perlite or sphagnum outside the box entirely. A cutting with a base that has gone soft, dark, or smelly is usually not worth re-sticking into fresh medium, because the rot tends to move with the cutting.
A rooted cutting coming out of the box for good also has to adjust to room air, much like acclimating a newly rooted cutting brought home from a nursery. Going slowly, by cracking the lid for longer stretches over a few days, gives the leaves time to harden off before the box disappears.
Sources
- Michigan State University Extension — Moisture management during vegetative cutting propagation: https://www.canr.msu.edu/news/moisture_management_during_vegetative_cutting_propagation
- e-GRO — Why does condensation happen on your plants?: https://e-gro.org/pdf/E715.pdf
- Greenhouse Magazine — Diseases in propagation: https://www.greenhousemag.com/article/2019-focus-on-disease-control-propagation/
- IPPS — Propagation of Challenging Plants (Johnson): https://ipps.org/wp-content/uploads/2025/03/66_045.pdf
- NC State Extension — Extension Gardener Handbook, Chapter 13: Propagation: https://content.ces.ncsu.edu/extension-gardener-handbook/13-propagation