Plant care
Why your houseplant cutting is rotting in water
· Updated
A houseplant cutting usually rots in water because the submerged tissue is dying rather than rooting. The most common, observable causes are a damaged or crushed cut end, too much stem or leaf material below the waterline, water that has lost oxygen or grown bacteria, a warm and still jar location, and a cutting taken from a stressed parent plant. The calm response is to pull the cutting out, inspect the submerged end and the node, recut above any soft or discolored tissue with a clean tool into fresh water if the damage is limited, or start over with a fresh cutting if the rot has reached the node or gone above the waterline.
What rotting in water actually looks like on a cutting
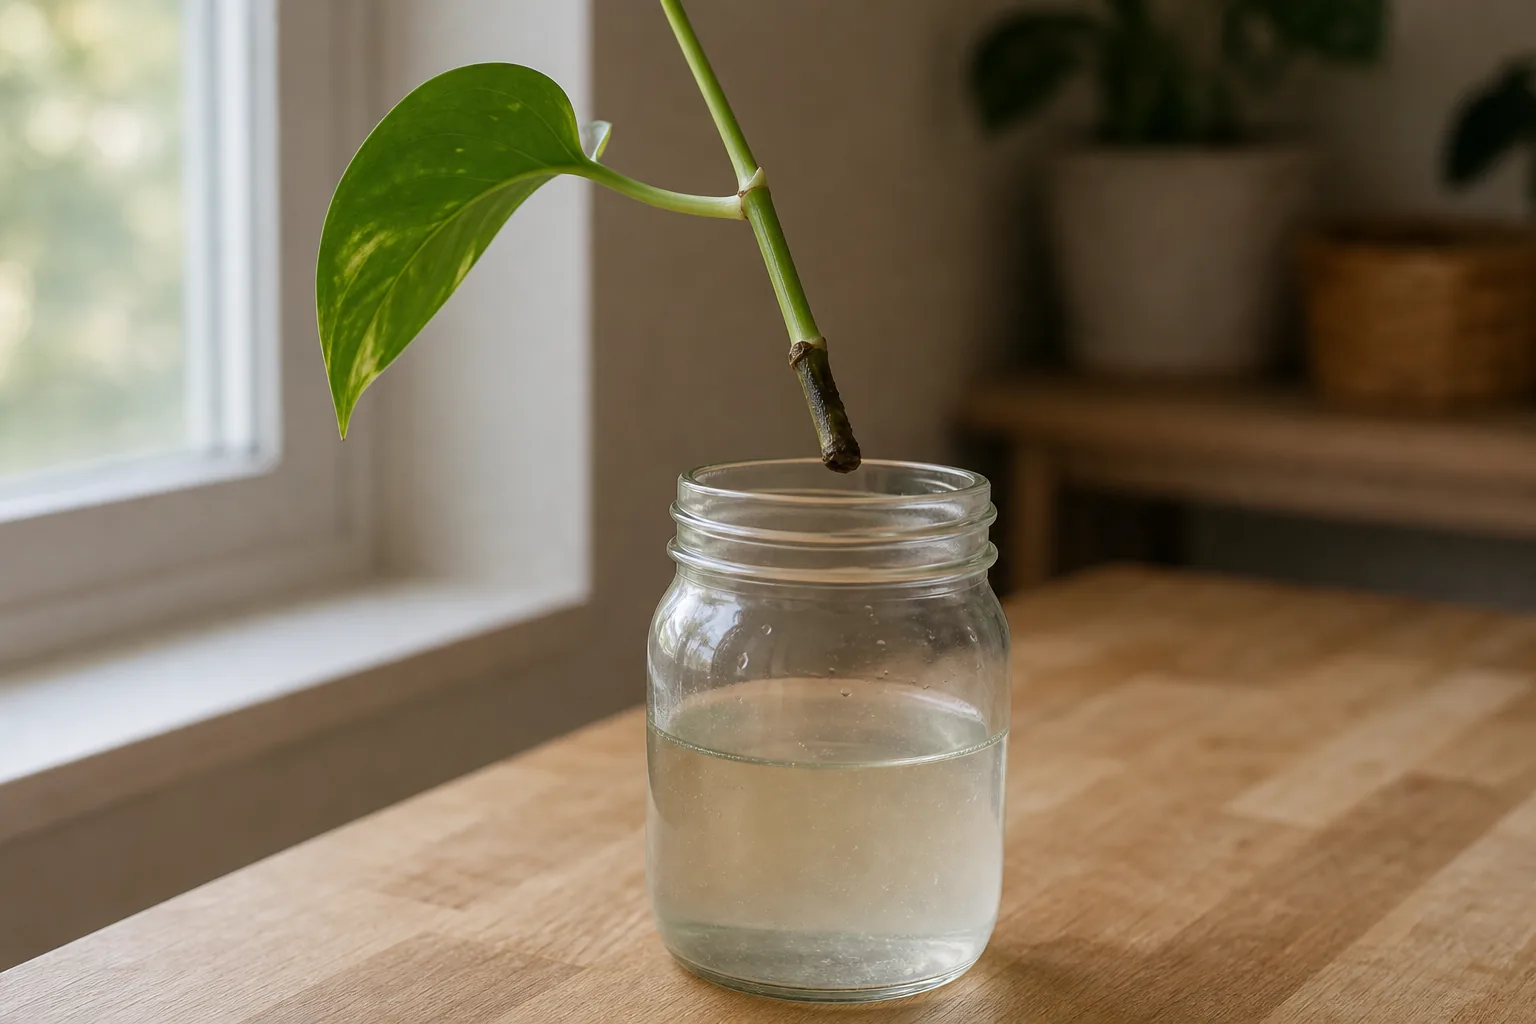
Rot on a water-propagated cutting usually shows up where the stem meets the water. The submerged tissue turns from firm and pale to soft, water-soaked, sunken, and sometimes slimy. The damage often spreads upward from the cut end, and the water itself can turn cloudy, develop a film, or start to smell sour or rotten. These visual and olfactory patterns are how university extension services describe soft rot in plants generally, and they are the same signals a home reader can use at the jar [1][2].
A few things are not rot, even though they can look similar:
- A pale tan or whitish swelling right at the cut tip is usually a callus, the plant’s normal wound response.
- Small, firm, white or cream bumps emerging near the node are typically early root primordia.
- A slightly darker cut surface that is still firm to the touch can be oxidation, not decay.
The quick smell test is useful. Healthy propagation water and healthy callus tissue do not smell like anything noticeable. A sour, swampy, or rotten smell from the jar is one of the clearest signals that microbes have taken hold in the water and on the submerged tissue.
The five most common, observable reasons a cutting rots in water
Rot is rarely one thing. In home water propagation it is usually a combination of two or three small choices that add up. These are the ones a reader can actually see and change.
A crushed or torn initial cut. A clean cut with a sharp, clean tool just below a node gives the plant a small wound it can seal. A crushed or jagged cut exposes more damaged tissue, and damaged tissue is the soft rot entry point. Young, tender tissue is particularly susceptible to this kind of decay [2].
Too much stem or leaf material below the waterline. Standard propagation guidance is to keep leaves above the waterline and to remove roughly half to two-thirds of the foliage so the cutting does not lose more water than it can support [3][4]. When a cutting has multiple nodes underwater, or when a leaf sits in the water, that tissue has nowhere to dry out and starts to break down.
Water that is stagnant, dirty, or warm. Extension publications treat excess moisture during vegetative propagation as a direct cause of cutting loss, and stagnant, still conditions make that worse [5]. Water that sits for days, especially in a warm room, loses dissolved oxygen and grows bacterial populations quickly. Cloudiness, a film, algae on the glass, or any sour smell are all signs this is happening. The same microbial pattern is part of what stagnant, organic-rich water near plants can attract, which is why a sour jar usually gets attention before a clear one.
A still, sun-heated location. Purdue Extension’s general cutting guidance puts conditions at roughly 65 to 75°F and flags excessive heat as a risk [3]. A jar on a sunny windowsill, on top of a router, near a heating vent, or in a closed cabinet will run warmer and stiller than a bright spot with mild airflow, and warm jars consistently behave worse. The same room-scale logic that drives where to put a houseplant away from drafts, vents, and sun-heated glass applies to a propagation jar.
A cutting taken from a stressed parent. Cuttings from a thirsty, recently moved, or visibly stressed parent plant tend to have less stored water and energy, and they tend to rot more often. Purdue recommends taking cuttings before the heat of the day reduces parent-plant water content [3]. The same principle applies indoors: a settled, hydrated parent produces a more rot-resistant cutting.
What to check right now: a calm ordered inspection
Before changing anything, pull the cutting out and look at it. The order matters because the lower end is the most likely problem and the upper stem tells you how far the damage has spread.
- The cut end. Is it firm or soft. Pale, tan, or dark. Slimy or dry. A soft, dark, slimy end is rot. A firm, slightly discolored end is usually still alive.
- The node. Nodes are the joints where leaves and roots emerge. If the node itself is soft, brown, hollow, or pulls apart when you touch it, the tissue that produces new roots and shoots is gone. That is the line between salvageable and not.
- The stem above water. Run a clean finger gently along the stem above the waterline. Firm and green is a good sign. Soft, wrinkled, or dark patches mean rot has moved upward.
- The water. Smell it. Look at it. Clear water with no film and no smell is healthy. Cloudy, filmy, or smelly water has shifted toward microbial growth regardless of how the cutting looks.
This four-step read usually tells you which cause from the previous section is doing the most work, and whether the cutting still has firm tissue to grow from. The same inspection-first approach used for new plants coming into the home works well at the scale of a single jar.
Whether to save the cutting by recutting, or start over
Recutting is a reasonable step when the rot is limited to the cut end and the tissue above is firm and green. In that case, move the cutting to a clean surface, wipe a sharp blade with rubbing alcohol, and cut just above the soft zone into healthy pale tissue. Put the cutting in a clean jar with fresh water, with only the node and a short stub submerged and all leaves above the waterline.
Recutting is not a reliable recovery step when:
- The node itself is soft, brown, or hollow.
- The stem above the waterline is soft, wrinkled, or discolored.
- Multiple recuts have already been needed and the cutting has very little stem left.
At that point, the cutting has lost the tissue that produces new roots and shoots. The honest answer is to start over with a fresh cutting from a healthy section of the parent plant. This is not a failure of the reader. It is the normal outcome when rot reaches the node, and trying to save tissue that no longer has a viable growth point usually delays the next attempt.
Setting up the next attempt with fewer rot risks
For the next attempt, the goal is to remove each of the five drivers above as far as the reader’s situation allows.
Take the cutting from a settled, hydrated parent plant. Skip recently moved or visibly stressed plants. A clean cut just below a node with a sharp, clean blade gives the smallest possible wound [4]. Standard guidance is a minimum of two nodes and no more than six, with half to two-thirds of leaves removed [4][3].
Keep only the node and a short stub submerged. This is a widely used practitioner convention rather than a quoted extension rule, but it is consistent with the extension guidance on node count and leaf removal: it leaves the smallest possible amount of tissue in the water and keeps every leaf dry and above the waterline.
Use a clean container and refresh the water by observation. Clean the jar, rinse it well, and add room-temperature water. Treat refresh frequency as a function of what you see and smell: clear, odorless water can wait, cloudy, filmy, or smelly water should be changed. The dedicated water-change page in this series goes deeper on cadence.
Place the jar in bright, indirect light with mild airflow and away from sun-heated glass, heating vents, and appliances that radiate warmth. Purdue’s general cutting range of roughly 65 to 75°F is a reasonable target for the room around the jar, and a small fan or an open shelf tends to outperform a closed cabinet [3].
If you want to inspect rather than just wait, pull the cutting out briefly once a week, smell the water, and look at the submerged end. This treats the propagation jar as the small, observable system it is, and it usually catches a problem before it reaches the node.
When rot keeps happening: pattern, not bad luck
One failed cutting is usually a single mistake. Two or three cuttings failing in a row from the same plant, or in the same jar spot, is a pattern, and the cause is almost always upstream.
Common upstream causes to look at:
- The parent plant is stressed, recently moved, or under pest pressure. Pause propagation, return the parent to stable care, and wait for new healthy growth before trying again.
- The jar conditions are wrong. A warm, still, sun-heated spot will keep producing rot regardless of how clean the cut is. Move the jar, not just the water.
- The cuttings are too long or have too many leaves underwater. Trim back to one node and a short stub and remove more foliage.
- The tool or the jar is contaminated. Wash the jar with hot water and a mild detergent, rinse well, and wipe the blade with alcohol before each cut.
If the pattern continues after these adjustments, the parent plant is the most likely source, and the better move is to give it a quiet season of normal care before taking any more cuttings.
What this guide is not, and where to go next
This page is a focused troubleshooting page for one specific failure mode: a cutting turning soft or black in a jar of water. It does not cover the full water-propagation method, and it is not a pathogen diagnostic. Soft rot is a recognized category of plant disease described by extension publications, but telling bacterial rot from fungal rot from a photo or a smell is not something a home reader can reliably do, and this page does not try [1][2][5][6]. For anything beyond a single failing cutting, a local nursery, a Master Gardener program, or a state extension service is the right next call.
For the broader method, the water-propagation hub in this series walks through how to choose a node, prep the cutting, and read early root growth. The pages on how often to change propagation water and on moving water-rooted cuttings to soil cover the steps that come before and after this troubleshooting moment. Together they form one calm, room-scale picture of water propagation.
Sources
- University of Wisconsin Horticulture Extension, Bacterial Soft Rot.
- Michigan State University Extension, Bacterial soft rot.
- Purdue University, New Plants From Cuttings (HO-37-W).
- University of Illinois Extension, Cuttings (Houseplants).
- Michigan State University Extension, Moisture management during vegetative cutting propagation.
- University of Maryland Extension, Root, Crown, and Stem Rots on Flowers.