Plant care
How to acclimate a new houseplant in the first two weeks
· Updated
The short answer: in the first one to three weeks, focus on stable placement, leave the plant in its nursery pot, water based on actual moisture rather than a schedule, hold off on fertilizer and most pruning, and treat a modest amount of leaf droop, drop, or color shift as normal adjustment while watching for a small set of specific signs that mean a closer look.
Why acclimation is its own short chapter, not just “good care”
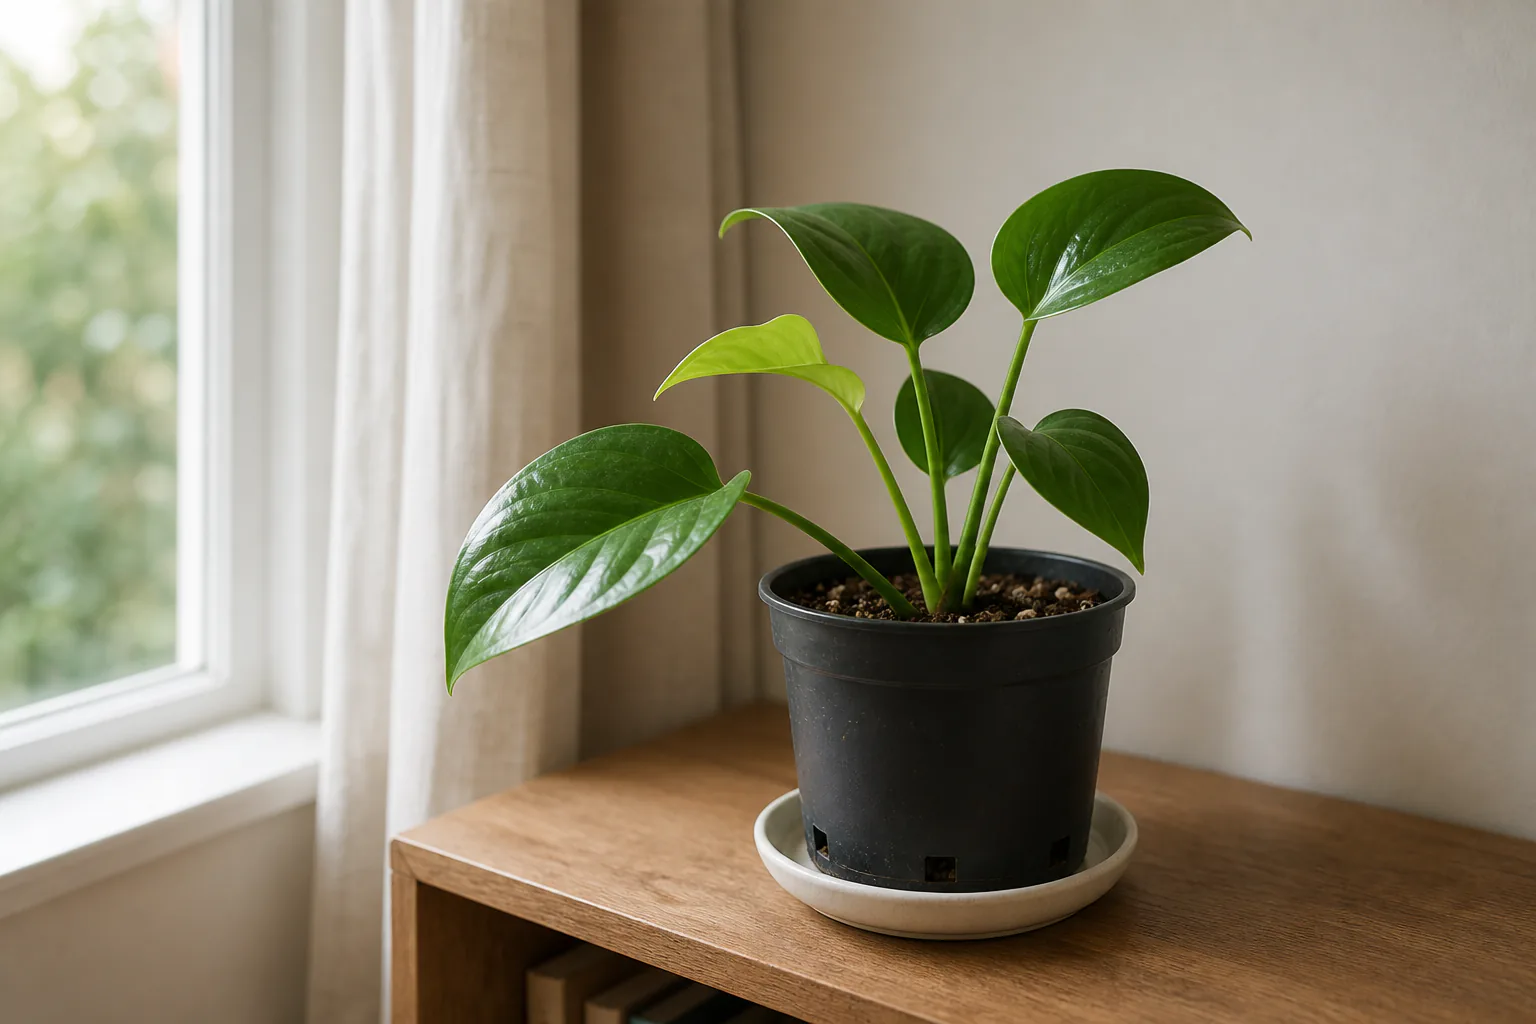
A new houseplant is adjusting to several things at once: a different light level, different humidity, a different watering rhythm, and often the residue of shipping or a greenhouse. Even a healthy plant bought from a local shop has just stepped out of a bright, humid greenhouse into a typical home, which is usually dimmer and drier. University extension guidance on moving plants between environments emphasizes gradual change over days to weeks rather than abrupt placement. The first weeks are the window when a small number of calm, repeatable habits will do more for the plant than any product or repotting.
The first 48 hours: placement, inspection, and what to leave alone
Pick a stable spot before you do anything else. A good spot has the light that the species needs, no direct blast from a heating or cooling vent, and is not directly against a cold window in winter or a sun-baked window in summer. If you have not yet measured the light in the room, our guide on how to read the natural light in your room before you place a houseplant walks through that step.
While you settle the plant in, do a slow inspection:
- Look at the undersides of leaves, the joints where leaf meets stem, and the soil surface. You are looking for small insects, webbing, sticky residue, or anything moving.
- Pick the pot up and feel its weight. This becomes your baseline for “wet” versus “dry” in the days ahead.
- Check whether water is sitting in any cache pot or saucer beneath the pot. Standing water against the root zone is one of the most common early mistakes.
If you have other houseplants, keep the new arrival in a separate room or at least a few feet away for roughly one to three weeks. This is not a medical quarantine; it is a simple observation window so that any hitchhiking pests show up on one plant rather than spreading.
What to leave alone in these first two days: do not repot, do not fertilize, do not prune, and do not water just because you brought the plant home. Nursery mix is often already damp, and watering on top of damp mix is a common way to tip a new plant into root trouble.
Week 1 routine: water by observation, hold off on feeding and repotting
Watering during the first week is a check, not a schedule. Stick a finger an inch or two into the mix, or lift the pot to feel its weight. Water only when the mix has actually dried to a depth appropriate for the species: generally an inch or two down for many tropical foliage plants, and deeper for many succulents and cacti. Exact depth varies by species and pot size, so use the check as a starting point rather than a fixed rule. If you are unsure, leaning toward dry is safer than leaning toward wet for the first week, because the plant is using less water while it adjusts than it will once it has settled.
Light is the variable that quietly drives how often you will water next. Extension guidance from the University of Missouri and UF/IFAS both treat light as the primary way to group houseplants indoors, because brighter light and longer days mean faster water use. So if you placed the plant in lower light than it had before, expect it to dry out more slowly, and adjust your checks accordingly.
Hold off on fertilizer. A plant that is busy adjusting roots and leaves does not need a nutrient push, and fertilizer on stressed roots can burn them. The same logic applies to repotting: the plant is already under transition stress, and root disturbance adds more. A common industry consensus is to wait at least a few weeks before repotting a typical new houseplant so it can stabilize in its new light and humidity. The exceptions are covered below.
Week 2 and beyond: when light can shift gradually and how to read response
By the second week, the plant has had a chance to recover from the move itself. If your spot is clearly too dim for the species, you can move the plant a few feet closer to the window or to a brighter room, but do it in one move and then leave it. Shuffling a plant between spots every few days forces it to keep re-adapting. The hardening-off principle from transplant work, gradual exposure rather than sudden change, applies here too.
By week two or three, you should be able to read a few signals of stabilization:
- New growth emerging from the top or center of the plant, even if older leaves have dropped.
- Leaves that were droopy on arrival are holding their shape without propping up.
- The pot is drying in a roughly predictable rhythm.
If you see no stabilization signs by week three or four, the spot may be a poor match, and a move is worth considering before changing water or fertilizer routines.
Normal adjustments to expect: a little droop, drop, or color change
A small amount of leaf droop, lower-leaf yellowing, or outright leaf drop in the first one to three weeks is described across horticultural sources as a normal adjustment response, not a verdict. Some species drop more than others, and shipped plants typically drop more than plants carried home from a local shop. The pattern that counts as normal is modest change followed by stabilization: a leaf or two turns yellow, drops, and then the rest of the plant holds and pushes new growth.
A pattern that does not count as normal is rapid, ongoing change across many leaves at once: a wave of yellowing, sudden widespread leaf drop, or new leaves coming in already misshapen or pale. Those are cues to inspect more closely.
Signs worth a closer look versus signs to act on now
These are observational prompts, not diagnoses. If you see several of these at once, or if they keep getting worse rather than stabilizing, the next step is to check more closely or contact a local nursery, master gardener program, or your regional extension service.
Signs worth watching, but not panicking over in the first two weeks:
- One or two yellowing lower leaves
- A leaf or two drooping in the warmest part of the day
- A faint paling of color on older leaves
Signs to act on sooner rather than later:
- Persistent wilting even when the soil is appropriately moist
- Soil that smells sour, or roots that are dark and mushy when you gently tip the plant from its pot
- Sticky residue on leaves or the surface below the plant
- Fine webbing across leaves or stems
- Visible small insects, especially on leaf undersides
- A wave of yellowing spreading across many leaves at once
- Soft, black, or mushy stems at the soil line
These descriptions are deliberately plain. If you find something that worries you, a clear photo and a short note about the plant and your conditions will help a local resource give you a better answer than guesswork will.
Repotting during acclimation: usually no, with a few honest exceptions
For most new houseplants, the default is to leave the plant in its nursery pot for at least a few weeks, then reassess. The plant already has its hands full adjusting to your room. Repotting adds root disturbance on top of that, and a slightly snug nursery pot is rarely the cause of a plant looking sad in week one.
A few situations justify earlier repotting, and they tend to be obvious:
- The plant is so root-bound that water runs straight through without soaking in, or roots are circling heavily on the surface or coming out of the drainage holes.
- The mix has broken down into a dense, soggy mass that stays wet for many days, which is a setup for root rot.
- The plant is in a pot without drainage and you cannot monitor moisture well.
- The plant was shipped in a damaged or compromised pot.
In each of those cases, repotting into a pot one size larger with drainage, using a mix appropriate for the species, is reasonable sooner. Otherwise, give it a few weeks.
Temperature, drafts, and humidity in the first weeks
Most new houseplants are greenhouse-grown in steady warmth and high humidity, and a typical home is cooler and drier. You do not need to humidify the whole room, but a few placement choices remove the worst stressors:
- Keep the plant a few inches away from cold window glass in winter.
- Keep it out of the direct line of a heating vent or radiator.
- Keep it away from a frequently opened exterior door in cold weather.
Humidity shock is real for greenhouse-grown tropicals, but moving the plant gradually toward typical room humidity by placing it in a bright, stable spot and leaving it there tends to work better than any gadget.
A simple two-week checklist
If you want a printable version, here is the short version.
First 48 hours:
- Choose a stable spot with appropriate light
- Inspect leaf undersides, stems, and soil surface
- Feel the pot’s weight as your wet-versus-dry baseline
- Keep the plant a few feet from other houseplants
- Do not repot, fertilize, or prune
Week 1:
- Check moisture before watering; do not water to a schedule
- Skip fertilizer
- Watch for stabilizing signs and for the small “act now” list above
Week 2:
- Reassess the spot. If too dim, move once to a better spot and leave it
- Look for new growth as the real signal of adjustment
- Plan any repotting for after the plant has stabilized, unless one of the exceptions above applies
Plant behavior varies with species, cultivar, mix, light, temperature, season, water, and the home. If something is moving in the wrong direction, slow down, observe, and check with a local resource rather than reaching for a new product.