Plant care
How to inspect a houseplant before you bring it home
· Updated
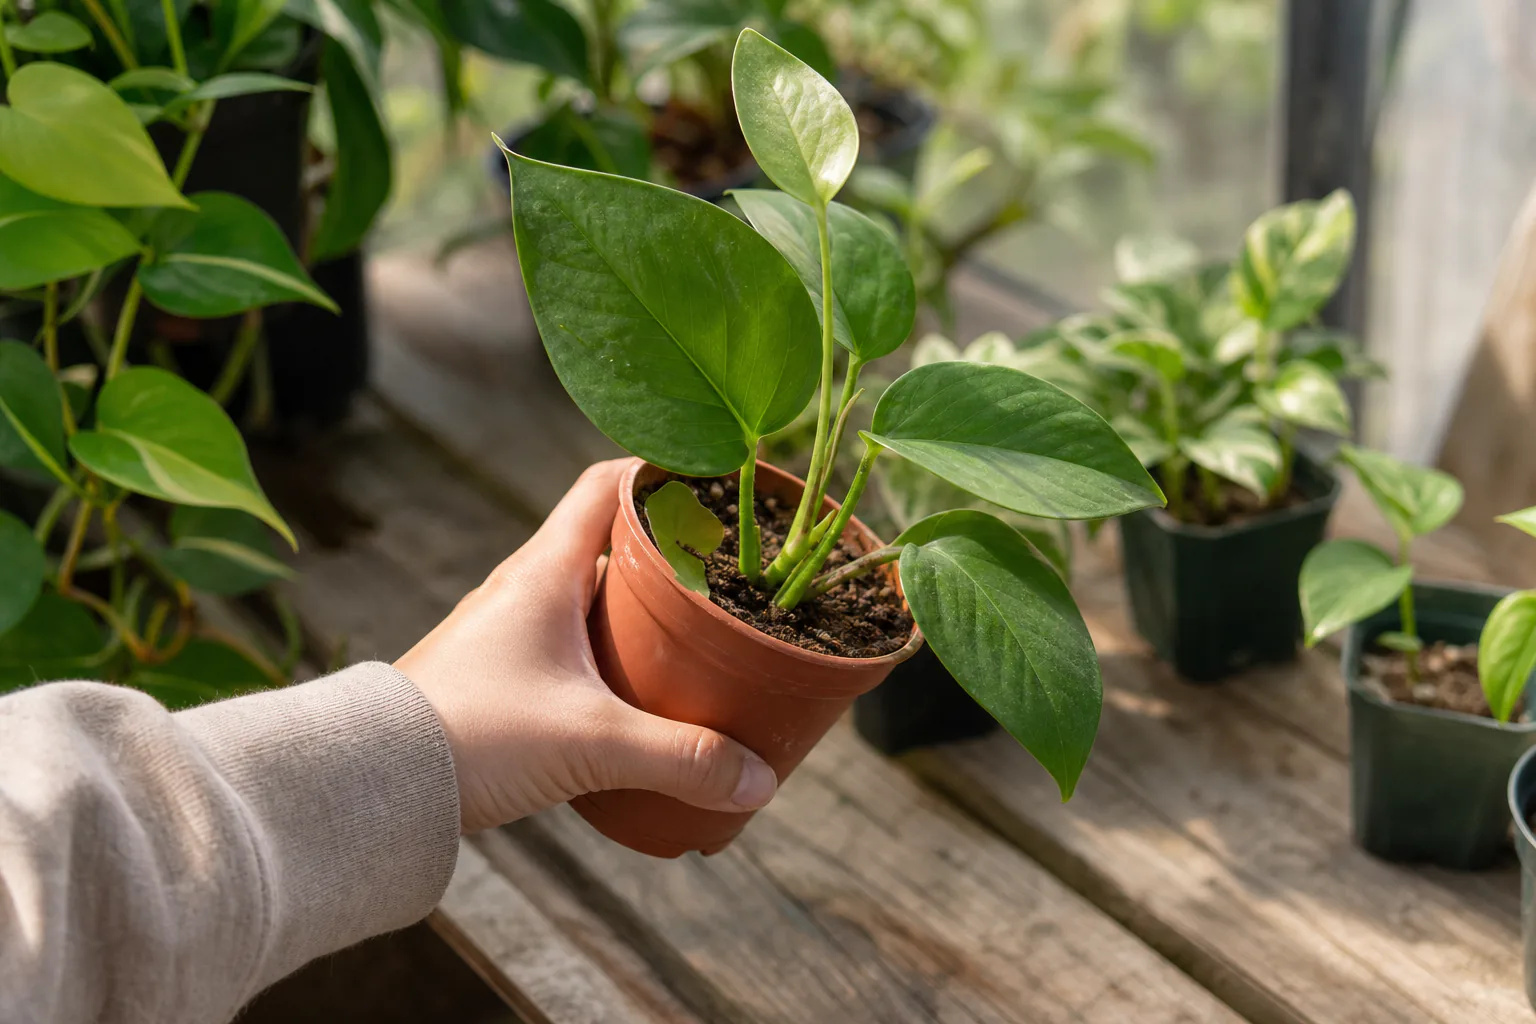
A useful pre-purchase check has four short passes: foliage (top and undersides), stem and node structure, the soil surface plus what you can see through the drainage hole, and a calm pest scan. A plant that passes these passes is not guaranteed healthy, but a plant that fails clearly on any of them is usually worth walking past in favor of another specimen of the same species.
What a pre-purchase check can and cannot tell you
A two- to three-minute visual inspection in a store, nursery, or delivery box is a useful filter. University extension materials treat selection as a moment to look for healthy foliage, new leaf buds, and the absence of obvious warning signs like chlorotic leaves, brown leaf margins, and a wilted appearance. Greenhouse integrated pest management guidance from sources like Michigan State University Extension treats inspecting incoming plant material as a critical step in avoiding pest introductions.
What the check cannot do is prove a plant is healthy. Many pests hide in the soil, near the soil line, or in pockets you cannot see without unpotting. Dormant fungal issues and recent shipping stress may not show up at the moment you look. Treat a clean inspection as a reasonable candidate, not a warranty. Pair it with a short observation period at home, especially if the plant will share space with others.
Pass 1: Foliage, the part you look at first
Start with the canopy as a whole. Look for plants whose leaves are firm, evenly colored, and held in the posture typical of the species. A healthy specimen often has visible new growth at the tips or center: a pale, partly unfurled leaf, a fresh shoot, or an emerging flower bud. UMD Extension lists healthy foliage and new leaf buds or flowers as positive selection cues.
Then look closer at the individual leaves.
- Color. A few older, lower leaves yellowing while the rest of the canopy is green is normal for many species. Widespread yellowing across the canopy, especially on new growth, is a stress signal that extension resources treat as one of the first visible symptoms a plant shows.
- Posture. Slight droop on a warm afternoon in the store is common. Limp, floppy leaves on a fully shaded plant that has been watered recently are not.
- Edges. Crisp brown leaf margins across many leaves can point to chronic stress, including low humidity or watering inconsistency.
- Undersides. Flip at least one or two leaves per plant. Sap-sucking pests cluster on the undersides and along the central vein, where they are easy to miss from above.
- Variegation. If you are picking a variegated cultivar, look for stable patterns rather than large reverted green sections, which can indicate the plant is losing its variegation.
A reasonable candidate has firm, evenly colored leaves, visible new growth at the top, and clean undersides. A plant to walk past has widespread yellowing, many dry brown edges, or visible residue, webbing, or insects when you flip a leaf.
Pass 2: Stems, nodes, and structural balance
The structure tells you whether the plant has been grown in conditions similar to yours. Stems should feel firm when you gently squeeze them, not hollow, papery, or squishy. Nodes (the points where leaves attach) should be reasonably close together. Long, pale gaps between leaves mean the plant has spent time in low light and will need a brighter spot than its current shape suggests.
A few practical checks during this pass:
- Lean. A plant that visibly leans toward one side has been reaching for light. A slight lean is normal; a sharp one usually means it has not been rotated.
- Damage. Look for snapped stems, scarred sections, or open wounds. Small callused scars are fine; fresh breaks with soft tissue around them are not.
- Graft unions. For grafted plants, the union should look healed and stable, not oozing or splitting.
A reasonable candidate has firm stems, normal node spacing for the species, and a balanced shape. A plant to walk past has mushy stems at the base, very long gaps between leaves, or a sharp lean with no signs of new growth.
Pass 3: Soil surface, moisture, smell, and what you can see through the drainage hole
Pick the pot up if you can. Heavier than expected means the soil is quite wet; unusually light means it is very dry. Neither is a deal-breaker on its own, but either paired with other signals starts to matter.
Then look at the surface.
- White crust on the soil can be mineral buildup from water or fertilizer.
- Green algae or whitish fungal growth on the surface usually means the medium has stayed wet for a long time.
- Mushrooms or a sour, swampy smell point to a medium that has gone anaerobic, which is associated with root rot.
Finally, tip the pot gently and look at the drainage hole without removing the plant. Healthy roots are typically white or tan and firm. Roots that are dark brown, black, or mushy are associated with rot. South Dakota State University Extension describes root-rot-infected plants as wilting even when the soil is moist, with leaves starting to yellow as the problem progresses. UMD Extension lists a wilted appearance as a reason to avoid a plant at sale.
A reasonable candidate has soil that is neither soggy nor bone-dry, no sour smell, and either clean roots or no visible roots through the drainage hole. A plant to walk past has persistently wet soil, a sour smell, and dark or mushy roots at the drainage hole, especially when paired with wilting foliage above.
Pass 4: A calm pest scan
Pests are the most common reason a new plant disappoints a few weeks later. Colorado State University’s houseplant pest list includes aphids, scale insects, mealybugs, thrips, spider mites, whiteflies, and fungus gnats among the most frequently encountered indoor pests. You do not need to identify which pest you are seeing at the shelf; you need to notice that something is there.
Look for these visible cues, each tied to a common pest in extension materials:
- Tiny moving dots on leaves or fine webbing in leaf joints and undersides. Missouri Extension describes spider mites as tiny dots moving over the plant surface, feeding with piercing-sucking mouthparts.
- White, cottony tufts in leaf axils and along stems. This is the typical mealybug appearance described across extension pest guides.
- Small bumps that do not scrape off easily along stems or the central vein of leaves. These are the usual scale insect signals.
- Clusters of small, soft-bodied, often yellow-green insects on new growth. Extension pest guides describe aphids this way.
- Sticky residue or shiny spots on leaves or the surface below the plant. This honeydew comes from sap-sucking insects and is a useful indirect signal.
- Small dark flies that lift off when you tap or hover near the soil. Fungus gnats point more to watering practice than to plant sickness on their own, but a heavy population suggests the medium has been consistently wet.
Run a finger gently along stems and the central veins of leaves to feel for unexpected bumps. Hover at soil level for a few seconds to see if anything lifts off. No visible signs is a good moment, not a guarantee: greenhouse IPM materials describe monitoring as ongoing, not a one-time check.
Signals that usually mean walking past this specimen
A few signals, when seen together, are enough to put a plant back on the shelf or send it back to the seller:
- Widespread yellowing across the canopy, paired with limp foliage and soil that is still wet to the touch.
- Mushy stems at the soil line, often with a sour smell from the medium.
- Visible webbing in multiple leaf joints, cottony tufts in several axils, or sticky residue on the leaves below the plant.
- Severely damaged or missing growing points, especially on a plant where new growth is the main attraction.
- A plant that has clearly been in standing water, with green algae across the surface and a swampy smell.
One yellow leaf is not on this list. One broken leaf is not on this list. The pattern, not the single cue, is what makes the call.
Choosing between two plants that both look fine
When more than one plant passes, a few practical tiebreakers help:
- Pick the one with newer growth at the tips. Visible new leaves mean the plant is actively growing in its current conditions.
- Pick the one with fewer broken or torn leaves, since each damaged leaf is a small entry point for stress.
- Pick the one whose roots are proportionate to the pot, rather than a dense mat of roots already visible at the drainage hole.
- If one plant has been on a bright shelf and another has been in a back stockroom, the bright-shelf plant is more likely to have grown under conditions closer to typical home light.
None of these is a rule; they are small nudges when everything else looks equal.
After the choice: a short list for the trip home
Inspection is step one of two. Even a plant that passes every pass needs a calm first stretch at home.
- Transport. A hot car, freezing air, or a tipped pot can undo a good choice. Wrap the plant loosely, keep it upright, and avoid leaving it in a parked car in extreme weather.
- First days. Place it where you can watch it easily, slightly farther from bright windows than you might otherwise. If you have other houseplants, keeping it separate for the first stretch is consistent with greenhouse IPM guidance to isolate new material when feasible.
- Watch for change. A few dropped or yellowed lower leaves after shipping is normal. Worsening yellowing, sticky spots, or new bumps over the first one to two weeks are signals worth a closer look.
Choosing well sets the plant up. Giving it a quiet first stretch at home is the other half of the job.
For more on matching a plant to the room you actually have before you get to this inspection moment, see our guide to matching a species to your room. If you want to revisit the light conditions in your space before deciding which plant to inspect, our primer on reading the natural light in your room first is a useful starting point. And for the days after you bring a plant home, our guide to acclimating the plant once it is home picks up from here.
Sources
- University of Maryland Extension. Selecting indoor plants. https://extension.umd.edu/resource/selecting-indoor-plants
- South Dakota State University Extension. Troubleshooting common problems: houseplant how-to. https://extension.sdstate.edu/troubleshooting-common-problems-houseplant-how
- University of Missouri Extension. Least-toxic control methods to manage indoor plant pests (G7273). https://extension.missouri.edu/publications/g7273
- Colorado State University, Agricultural Biology. Houseplant pests. https://agsci.colostate.edu/agbio/ipm-pests/houseplant-pests/
- Michigan State University Extension. Inspecting incoming plant material is key to greenhouse pest control. https://www.canr.msu.edu/news/inspecting_incoming_plant_material_is_key_to_greenhouse_pest_control