Plant care
Houseplant dying after repotting: what to stabilize first
· Updated
A houseplant that declines shortly after repotting is most often responding to a stack of changes that happened at once: disturbed roots, new soil that holds moisture differently, possibly a deeper or shallower pot, and often a new placement. The first move is to stop changing things. Keep the plant where it is, hold off on fertilizer, and water only based on what the soil actually feels like. Many plants bounce back with a few weeks of steady conditions. A smaller number do not, and that is not always something you could have prevented.
What follows is an ordered stabilization plan, not a rescue protocol.
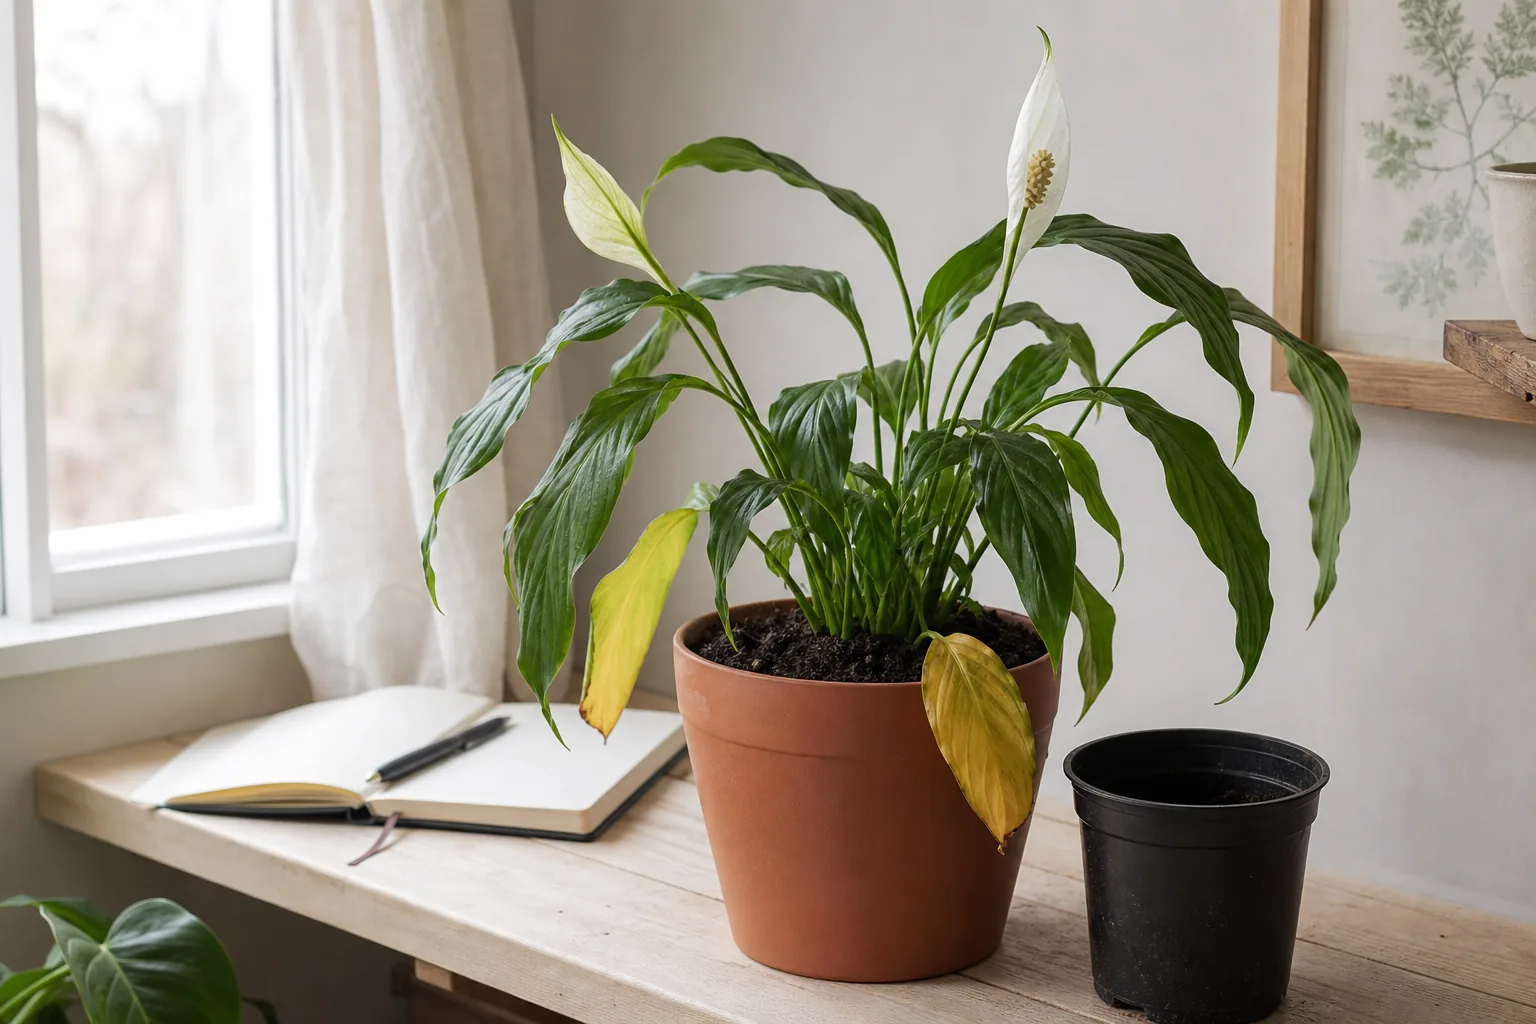
What ‘dying after repotting’ usually looks like
Real post-repotting decline is rarely dramatic. Common patterns in the first one to three weeks include:
- Soft, drooping leaves that do not perk up overnight
- A few yellow leaves, often the older ones at the bottom
- Sudden leaf drop after the plant was fairly stable before the repot
- A general sad look — less perky than the day of the repot
- Soil that stays wet longer than it did in the old pot, or that dries faster than expected
Some leaf loss and mild wilting shortly after a repot is a textbook stress response, not proof the plant is doomed. The harder part is knowing when a sad plant is just stressed and when something is going wrong under the surface. If the decline started before the recent repot, the guide on reviving a struggling plant covers a different starting point.
For context on what normal recovery looks like when a plant is settling in without active decline, the guide on general after-repotting care covers the baseline.
Why repotting stresses a plant even when it was done carefully
Repotting is, by nature, a disturbance. Fine feeder roots often tear or get crushed even during a careful transplant, and that temporarily reduces the plant’s ability to absorb water. Meanwhile the new mix may hold moisture differently than the old one, and the new pot may be slightly deeper or shallower. The plant is also usually moved — sometimes only a few feet, sometimes into genuinely different light.
Cornell CALS horticulture guidance on transplanting emphasizes minimizing root disturbance during the move and avoiding additional stress on the plant in the weeks that follow. Purdue Extension describes transplant shock on recent transplants as wilting, yellowing, and leaf rolling, the same cluster of symptoms that indoor plants show.
None of that means the repot was a mistake. It means the first few weeks are a recovery window, and your job is to add stability, not to keep intervening.
First 24 to 72 hours: what to leave alone and what to check
The day of and the day after a repot, do less, not more.
Things to skip in the first two or three days:
- Do not water again unless the soil is already drying out from being too loose or too chunky
- Do not fertilize — fresh potting mix usually carries enough starter nutrients for several weeks
- Do not repot again to fix anything that bothered you about the first repot
- Do not move the plant to a brighter window, a shadier spot, or a new room ‘to help it recover’
What you can do:
- Confirm that the pot drains freely (water exits the drainage hole in a reasonable time)
- Check that the plant is sitting at the same soil depth it was before — buried stems are a common avoidable problem
- Photograph the plant and note the date, so you have a baseline for the weekly check
Reading the soil and the pot before you water again
South Dakota State University Extension names overwatering as the single most common cause of houseplant death. After a recent repot, that risk is higher, not lower, because the new mix may hold more water than the old one or because the new pot is larger than the root ball needs.
The simplest test is also the most reliable: lift the pot. A wet pot is heavier than a dry one. After you water once and the water has drained, lift the pot briefly and remember how it feels. A day or two later, lift it again. The change in weight tells you far more than the soil surface, which can be misleading.
For a deeper check, push a finger or a wooden chopstick an inch or two into the soil. If it comes out damp and dark, the deeper soil is still wet. If it comes out barely stained and dry, it is time to water.
If the plant is wilting but the soil is still wet, more water is the wrong response. The plant may be wilting from root disturbance, not from thirst. Wilting in wet soil is its own pattern and is covered in detail in wilting in wet soil: what to inspect before acting.
Light, drafts, and placement during recovery
During the recovery window, the goal is to keep the plant’s environment as steady as its location.
- Bright, indirect light at the level the species normally prefers
- No direct sun on newly exposed leaves, which can scorch more easily after stress
- Away from heating vents, cold drafts, and recently opened windows
- Same room, same general spot — do not move the plant to ‘help’ it
A plant that is recovering from repot shock does not need a new spot. It needs the old spot, just with a slightly more attentive eye on water.
What the leaves can tell you
Leaf signals are noisy in the first two weeks, and most are not diagnostic on their own.
- Wilting with moist soil: more often transplant shock than thirst
- Yellowing of the oldest leaves first: typical stress shedding, usually not a crisis
- Leaf drop across the canopy within days of repot: a common stress response, especially if stems are still firm. For a closer look at how leaf drop behaves after any kind of environmental change, see leaf drop after a move or change
- Soft, mushy stems at the base or a persistent sour smell from the soil: a more serious sign that warrants a closer look
- New growth at the tips or nodes despite droopy older leaves: encouraging, even if the plant as a whole still looks sad
New growth is one of the most reliable recovery signals. A plant that has clearly worse-looking leaves but is pushing out new tips is recovering. A plant that looks identical week after week with no new growth is harder to read.
When to gently check the roots
A root check is optional, and most recovering plants do not need it. If you do check, slide the root ball out without shaking off the soil and look at a few handfuls of roots rather than the whole mass.
- Firm and light-colored roots — white, tan, or pale green depending on species — are usually healthy
- Dark brown or black roots that crush between your fingers and smell sour are usually rotted
- Some species, including many aroids, have naturally darker healthy roots, so firmness and smell matter as much as color
University of Wisconsin Horticulture Extension describes root rots as causing stunting and leaves that yellow or redden as if the plant is nutrient-deficient, even when feeding is fine. That overlap is one reason root checks are useful when the leaf signals are not adding up.
If you find clear rot, stop and reassess before adding any rinse or treatment. The dedicated caution post on home remedies for root problems explains why peroxide, cinnamon, and similar internet recipes are worth pausing on before trying them.
What not to do in the first one to three weeks
The most common overcorrections after a recent repot:
- Watering again because the plant looks droopy, even when the soil is still damp
- Fertilizing ‘to give it energy,’ when fresh mix already has nutrients and stressed roots are sensitive to salt burn
- Repotting a second time into a different mix because the first one did not seem right
- Moving the plant to several different light levels in search of the right spot
- Pruning a lot of leaves or stems at the same time as the repot, adding another stress on top
- Trying a peroxide soak, cinnamon dusting, or bleach rinse without a clear reason
Each of these is well-intended. Collectively they usually make recovery slower, not faster.
When a second repot is the wrong move, and when it might be needed
The default is no. Repeated repotting within a few weeks almost always sets the plant back further. Iowa State University Extension specifically advises moving up only one pot size when repotting, and an oversized pot is one of the most cited causes of post-repot decline because the surrounding soil stays wet for too long.
Before deciding to repot again, it helps to step back and decide whether another repot is needed at all. A second repot might be warranted in a narrow set of cases:
- The pot has no drainage and the plant has been sitting in standing water
- The soil is clearly wrong for the species, such as a moisture-retentive mix in a pot meant for a succulent or orchid
- The root ball has settled far below the soil line, leaving a long bare stem
Even in those cases, the safer move is to stabilize first and plan a second repot deliberately, not as an emergency response.
Signs the plant is actually recovering
Improvement after repot shock is usually slow and easy to miss if you are checking the plant every day.
- New leaf tips unfurling at the growing points
- Stems that feel firmer rather than softer over the course of a week
- Soil that dries at a steady, predictable rate
- Slowing or stopping of further leaf drop
- A leaf that looked droopy in the morning standing more upright by afternoon
A weekly photo, taken from the same angle and in the same light, makes subtle changes easier to evaluate than memory alone.
When the decline is serious enough to ask a local expert
Some situations are beyond home troubleshooting. Reach out to a local nursery, a master gardener program, or a university extension service if:
- The plant has continued to decline for two to three weeks despite stable conditions
- Stems have turned soft or mushy, especially at the base
- The soil stays wet for a week or more with no drying
- A persistent sour smell is coming from the pot
- All leaves have dropped and there is no new growth for many weeks
- A pest problem appeared after the repot
These are observations, not diagnoses. A local expert can often identify the underlying issue faster than a written description, and can advise whether the plant is worth saving or whether starting fresh is the better path.
A short stabilization checklist to keep nearby
- Day of repot: water only if the mix was dry, photograph the plant, note the date
- Days 2 to 7: no fertilizer, no repotting, no new location, water only when the pot feels lighter and the deeper soil feels dry
- Weeks 2 to 3: keep the same spot and light, watch for new growth at the tips, photograph weekly
- After a few weeks of stability: if the plant is stable or improving, slowly return to the normal care routine. If it is still declining sharply, escalate to a local expert
- Throughout: change one thing at a time, and resist the urge to do something every day
Plants do not recover on a fixed schedule. They recover when conditions stay steady long enough for new roots to form and new leaves to push out. The most useful thing you can do is give that stability a real chance.
Sources
- South Dakota State University Extension: Troubleshooting common problems: houseplant how-to
- Iowa State University Extension: How to care for houseplants
- Cornell CALS Horticulture: Avoid transplant shock
- Purdue Extension: Transplant shock of trees and shrubs
- University of Wisconsin Horticulture Extension: Root rots on houseplants