Plant care
Bringing houseplants back inside: a calm fall checklist
· Updated
Bringing houseplants back inside for fall is a three-phase project rather than a single move: time it using your local forecast rather than a calendar date, inspect and clean each plant before it crosses the threshold, then isolate it indoors and re-acclimate it to much lower indoor light over one to two weeks. The same routines that helped you move plants outside in spring apply in reverse, but indoors is usually a more sheltered environment with far less light, so the pace matters.
Why bringing plants back inside is its own project
The summer outside gave your plants more light, higher humidity, and larger day-to-night temperature swings than they will see indoors. Even the brightest indoor window is dimmer than a patio or balcony, and indoor air in most homes is drier than the air a plant got used to between June and August. Once nights start cooling, the combination of colder nights and a sudden drop in light is what produces leaf yellowing, leaf drop, and stalled growth right after the move.
Treating the fall move as its own project, rather than a one-day chore, lets you pace each phase. The article Moving houseplants outdoors for summer: a gradual, observation-first approach describes the reverse process; the same logic applies here, just aimed at lower light instead of higher.
Time the move with your local weather, not a calendar date
There is no single night-temperature threshold that fits every tropical houseplant. Iowa State Extension puts roughly 55°F as the level below which many houseplants can be damaged, and reference sources for tender tropicals often use “before nights dip below 50°F” as a planning benchmark. Other extension-aligned sources group houseplants into cool (40–50°F), intermediate (60–75°F), and warm preferences, which is a useful reminder that different tropicals have noticeably different tolerances.
Practical signals to use:
- Watch your local forecast for the next 10–14 days, not just the next 48 hours.
- Use your state or regional extension service for plant-specific guidance on borderline species.
- Bring in the most tender plants first (thin-leaved aroids, begonias, calatheas) and let tougher plants spend a few more nights outside if the forecast allows.
- Remember that a balcony or patio can be a few degrees colder overnight than the nearest weather station, especially if it sits under a roof or against a north wall.
The order of operations matters because the move itself, plus the inspection that follows, will take longer than most readers expect.
Pre-move inspection: what to look at on every plant
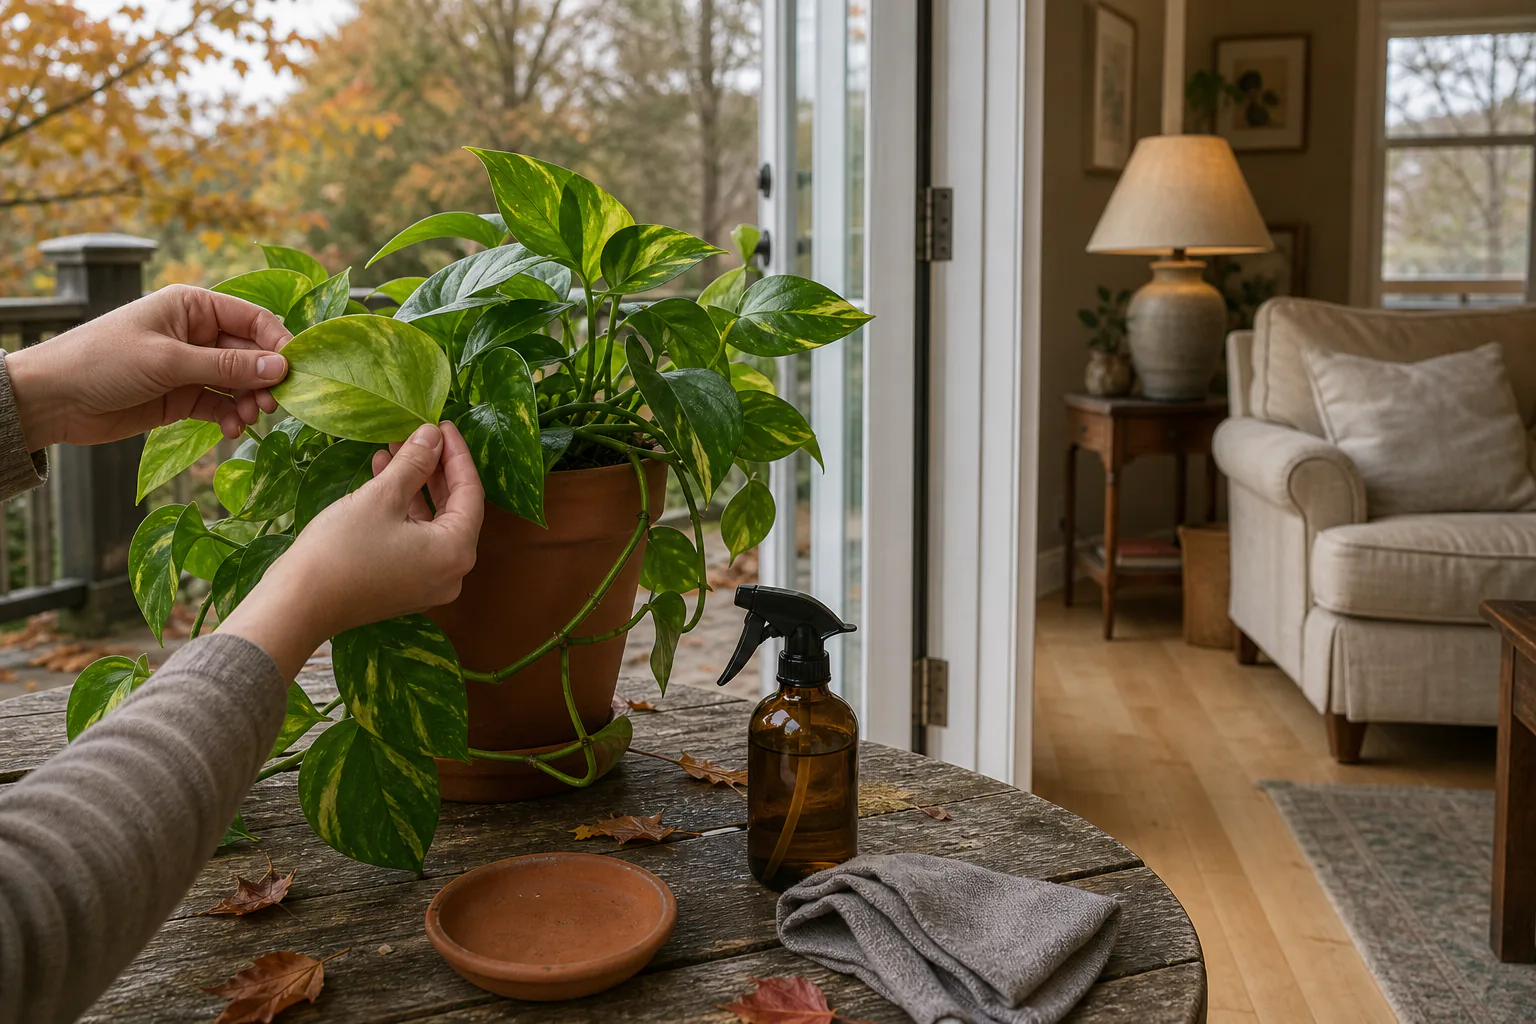
A quick spray-down of the leaves is not enough. Common outdoor-to-indoor hitchhikers named by extension sources include aphids, mealybugs, scale, spider mites, whiteflies, thrips, and fungus gnats. Each one tends to hide in a slightly different spot, so a multi-spot inspection is the practical baseline.
Walk around each plant and check:
- Undersides of leaves, especially along the midrib and veins.
- Stems and leaf axils, where leaves meet the stem.
- The soil surface, looking for webbing, small flying insects, or crusty residue.
- The pot rim, drainage holes, and the underside of the pot.
- The saucer, including the water that has collected in it.
Plants that sat on the ground outdoors are more likely to have acquired crawling pests and soil-surface contamination than plants that sat on a table or railing. Sort your plants into ground-level and elevated groups if you can, and give the ground-level group a slower look.
UMN Extension directs readers to inspect container edges, rims, crevices, and the bottom of pots and saucers, and to remove anything found. That checklist applies here.
Cleaning and treatment choices you can make before the threshold
The University of California Integrated Pest Management program (UC IPM) frames houseplant pest management as an integrated pest management program, with cultural and physical controls as first-line options. For most readers, that means a rinse, a wipe, and a careful look, rather than reaching for a product.
What you can do at the door:
- Use a gentle spray of lukewarm water on foliage, including undersides, to dislodge aphids, mites, and small flies.
- Wipe leaves with a soft damp cloth for mealybugs and scale, or use a cotton swab dipped in a mild soap-and-water solution for spot treatment on individual insects.
- Pick up any fallen leaves or flower debris from the soil surface, since fungus gnats thrive in decaying organic matter.
- Empty and rinse saucers and let them dry before refilling.
If you find something you cannot confidently identify, take a clear photo and contact your local extension office or master gardener help line rather than guessing. A wrong identification can lead to a treatment that does nothing useful, or worse, makes the problem harder to manage later.
Keep any pest-control product away from pets and children. Follow product labels exactly, and never use a product indoors that is labeled for outdoor use only. Houseplant Supplies does not test or endorse specific products, and a local diagnostic resource is a better starting point than a brand recommendation.
Setting up an isolation spot indoors and what to watch for there
Once a plant is indoors, place it somewhere separated from the rest of your collection. A spare room, a bright bathroom, or even a corner of the living room with a little space around it works. The point is to keep new pests from spreading to plants that have been indoors all summer.
UMN Extension recommends isolating newly acquired plants without naming a fixed duration. Treat the isolation period as a watch-window of roughly two to four weeks. Watch for:
- Small flying insects around the soil surface (fungus gnats).
- Sticky residue on leaves or the pot rim, often associated with aphids, scale, or mealybugs.
- Speckled or pale-green leaves with fine or gray webbing (spider mites).
- New yellowing or wilting that does not match the general light drop.
The article How to inspect and quarantine a new houseplant describes the same observational routine in more detail. The principles are identical whether the plant is coming from a nursery, a friend’s home, or your own patio.
Re-acclimating plants to lower indoor light over one to two weeks
Indoor light is not just slightly dimmer than outdoor light. It is a fundamentally smaller light budget, even at the brightest south-facing window. Iowa State Extension recommends introducing stronger outdoor light gradually over 10–14 days when moving plants outside in spring. The same window applies in reverse when moving plants back indoors.
A simple ramp-down plan:
- Days 1–3: Place the plant in the brightest indoor spot you have, typically a south- or west-facing window. If the forecast still allows, a short outdoor visit during the day is fine, but keep it brief.
- Days 4–7: Move the plant to a slightly less bright indoor spot, such as an east-facing window or a few feet back from the brightest window. Outdoor visits can stop or shorten further.
- Days 8–14: Settle the plant into its final indoor location.
Plants that spent the summer in deep shade will already be closer to indoor light levels and may need little or no ramp-down. Plants that spent the summer in full sun have built up much higher light demands and are at greater risk of leaf change, so they deserve the slower schedule. The article How to read the natural light in your room before you place a houseplant gives a way to estimate the indoor light at your chosen window so the plan is grounded.
Expect some leaf drop and a little yellowing. Even a careful transition cannot fully prevent a plant from reacting to a sudden drop in light, temperature, and humidity. That is one reason the isolation period doubles as a recovery period.
Adjusting water, feeding, and humidity expectations
Indoor conditions in fall and winter usually mean less light, slower growth, and therefore less water and fertilizer. Extension sources generally place most foliage houseplants in a 65–75°F daytime range, with night temperatures about 10–15°F cooler than daytime, which is often easier to maintain indoors than the wider swings of late summer.
Practical adjustments:
- Water less often, and only when the top inch or two of potting mix feels dry. Plants in lower light use less water.
- Pause or reduce fertilizer, especially for plants that are not actively pushing out new leaves.
- Group plants together, or use a humidity tray, to lift the air around them slightly. Most homes are drier than the outdoor air a plant spent the summer in.
- Avoid placing plants near heating vents or cold drafts from windows and doors, both of which add stress during an already sensitive window.
A simple two-week timeline and a short aftercare checklist
Days 1–3 (still mostly outside):
- Sort plants by tenderness and by ground-level versus elevated summer spots.
- Watch the local forecast for nights consistently below the levels you are comfortable with.
- Begin light inspection of the most likely hitchhiker spots.
Days 4–7 (move and inspect):
- Bring plants in over a day or two, starting with the most tender.
- Inspect each plant using the multi-spot checklist above.
- Rinse, wipe, and clean pots, saucers, and the soil surface.
- Place each plant in its isolation spot indoors.
Days 8–14 (ramp-down and watch):
- Step the plant through the indoor light ramp-down toward its target window.
- Watch for new symptoms during the isolation window.
- Cut back on watering and pause or reduce feeding.
After two weeks:
- If no pests or disease-like symptoms appeared, move each plant to its long-term indoor spot.
- Resume a normal indoor watering and feeding rhythm as growth picks up again.
- Keep an eye out for late-emerging issues; in some cases, signs show up after the second week.
A calm, paced approach like this is closer to what extension services describe than a single afternoon move, and it gives each plant a chance to flag problems before they spread. For a closer look at the inspection routine itself, see How to inspect and quarantine a new houseplant.
Sources
- Iowa State University Extension and Outreach – How and when do I bring my houseplants back indoors for winter?
- Iowa State University Extension and Outreach – Moving indoor plants outside for the summer
- University of Minnesota Extension – Managing insects on indoor plants
- University of Georgia Cooperative Extension – Acclimate house plants to the outdoors
- UC IPM – Houseplant problems