Plant care
Why are my houseplant leaves turning yellow? A calm, observation-first checklist
· Updated
Why yellow leaves rarely have one single cause
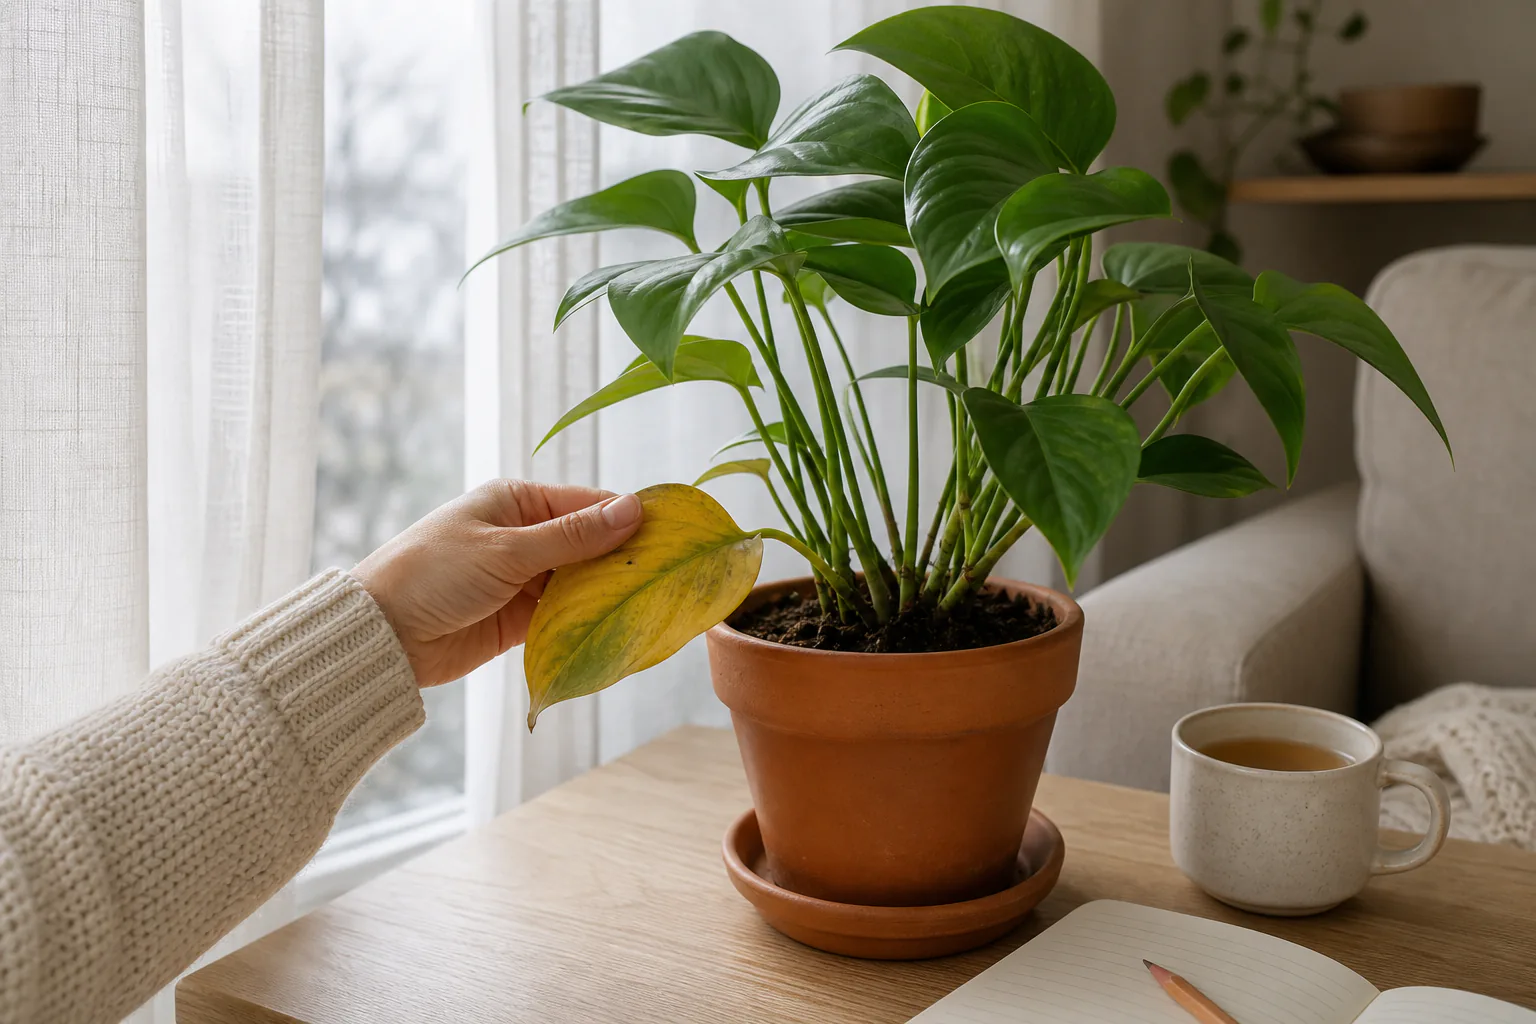
Yellowing is a symptom, not a diagnosis. University extension and IPM sources list many possible contributors for the same leaf, including low light, cold temperatures, watering problems, drainage issues, root damage, nutrient issues, sap-sucking pests, and simple age, which is why a single written description usually cannot name the cause. The most useful move is to slow down and work through an observation order, changing only one thing at a time so the plant can show you what is actually going on.
Before you reach for fertilizer, a repot, or a new spot, run through the checks below in roughly this order: pattern on the plant, soil and roots, light and temperature, recent changes, pests, and natural aging. Each step asks you to look and then wait, not to fix.
Start with the pattern: which leaves, where, and how fast
The first thing to look at is which leaves are yellowing, where they sit on the plant, and how quickly the change is happening. Pattern alone does not name a cause, but it can help you rule several out.
- Older or lower leaves yellowing first, evenly across the leaf, while the rest of the plant looks alert and is still pushing out new growth at the tips, is the pattern that overlaps with normal aging and with mobile nutrient issues such as nitrogen. Mississippi State University Extension describes lower-leaf senescence as a normal part of plant growth, and Montana State University Extension notes that nitrogen shortage typically appears on lower, older leaves first.
- Newer or upper leaves yellowing first, especially with the veins staying green, leans toward a different set of issues such as low light, cold exposure, or an immobile nutrient issue such as iron or sulfur. University of Maryland Extension describes iron chlorosis as yellowing with the veins remaining green, often on newer growth, and Montana State University Extension notes that sulfur deficiency appears on upper, newer leaves first.
- Random yellowing, speckling, or stippling scattered across many leaves is more often a sign of feeding damage from sap-sucking pests or of a recent environmental shift than of a single nutrient problem.
A note that matters here: once a leaf is fully yellow, it does not usually re-green. What you are watching for is whether new growth comes in green and whether the spread of yellowing slows or stops after you change one variable.
Check the soil and roots before changing the watering routine
Yellowing is often blamed on watering, but the water story is at least three separate variables: how often you water, how long the pot stays saturated, and whether the roots are healthy. University extension sources also list poor drainage, damaged roots, and compacted roots alongside nutrient issues as possible contributors to chlorosis, which is why the soil and the rootball deserve a look before you change your schedule.
Quick observations a reader can make without unpotting:
- Stick a finger or a wooden chopstick a few centimeters into the soil. The mix several centimeters down is a better signal than the surface, which dries faster than the root zone.
- Lift the pot when it is dry and again after a thorough watering. The difference in weight is a useful baseline for future checks.
- Look at the drainage hole. If water has been standing in a saucer for hours, the lower soil has probably been saturated for just as long.
- If yellowing is severe and the soil smells sour, or the plant is wilting despite moist soil, slide the rootball out and look at the roots. Healthy roots are firm; rotted roots are soft, dark, and may pull apart easily.
The focused walkthrough for how to tell overwatered from underwatered houseplants covers pot weight, soil feel, and root inspection in more detail. The short version is to check the soil at root depth and the weight of the pot before adding or withholding water, and to treat chronic sogginess and watering frequency as two different problems.
Review light, drafts, heat, and recent moves
Light and temperature are the next pair of variables to look at, because both can drive yellowing and both are easy to change accidentally.
UC IPM lists inadequate light and low temperatures among the causes of yellowing and dropping leaves on houseplants. Many houseplants also dislike draughty positions, especially in winter, and direct midday sun can scorch leaves yellow rather than produce even whole-leaf yellowing. The pattern matters here.
- Pale, slow growth with yellowing that creeps across the plant often points to not enough light over weeks or months. If yellowing is concentrated on one side or on inner leaves while the rest of the plant leans toward the window, light is worth a closer look. Our guide on how to read the natural light in your room walks through judging the hours of usable light a spot actually offers.
- Bleached patches, brown edges, or crispy yellowing on the side facing a window usually point to too much sudden direct light, often after the seasons shift and a plant that has been in lower light all winter suddenly gets strong spring sun.
Walk the room for drafts and heat sources too. Windows in winter can be much colder than the rest of the room, exterior doors let in cold air, and heating vents or radiators dry the air and the soil faster than the rest of the plant is signaling. If a yellowing plant sits right next to any of those, moving it a meter or two away is a one-variable change worth trying.
Look for pests, residue, and disease signs
If the pattern on the plant, the soil, and the room conditions all look reasonable, pests and disease are the next category to check. Colorado State University lists aphids, scale insects, mealybugs, thrips, spider mites, whiteflies, fungus gnats, and springtails as common houseplant pests, many of which produce yellowing as part of their feeding damage. UC IPM specifically notes that mealybug infestations can cause stunted growth, yellowing, and leaf wilting, and that mealybugs and aphids excrete honeydew that can lead to sooty mold.
What to look for in a slow, calm inspection:
- Undersides of leaves, leaf axils, and new growth for sticky residue, fine webbing, tiny moving specks, or small cottony tufts.
- The surface below the plant and the rim of the pot for shed skins, frass, or fungus-gnat-sized flies.
- Leaf surfaces for fine stippling or a dusty, faded look that does not wipe off cleanly. That pattern is more typical of spider mites or thrips than of a watering issue.
If you find a clear sign of pests, isolate the plant from nearby houseplants before doing anything else. For treatment choices, follow the product label and consider asking a local nursery or your regional extension service before applying any pesticide indoors, because off-label use on edible or sensitive plants is a real risk.
Don’t overlook normal aging and natural leaf turnover
Not every yellow leaf signals a problem. Mississippi State University Extension describes the natural senescence of older, lower leaves on a mature plant as part of normal growth, especially when those leaves are heavily shaded by newer growth above them. Montana State University Extension notes that nitrogen deficiency typically shows on older leaves first, but the same look can be the plant simply retiring the oldest leaf it no longer needs.
Two practical ways to tell natural aging from a developing problem:
- The plant is otherwise producing healthy new growth at the tips, and only one or two of the oldest leaves are yellowing at a time.
- Yellowing does not spread to multiple leaves, new growth stays green, and the soil, light, and room conditions all check out.
If the plant is not pushing new growth, if multiple leaves are yellowing at once, or if yellowing shows up on new leaves, treat it as a problem to investigate rather than as normal turnover.
Change one thing at a time and watch how the plant responds
This is the rule that holds the whole checklist together. Yellowing usually has more than one contributor, and changing several things at once makes it impossible to learn which one mattered.
A workable pace:
- Pick one variable to change, for example moving the plant out of a draft, watering less often, or shifting it closer to the window.
- Wait. New growth is the indicator, so give the plant a couple of weeks of normal care before judging the change.
- If new growth comes in green and the spread of yellowing stops, you have likely found a contributor. Note it for next time.
- If nothing changes, return the variable to its original state and try the next thing on the list.
A second habit worth keeping: write down the date, the change, and what the plant looked like. Houseplants respond on the scale of weeks, and a short log of “moved from north window to east window on March 12, new leaves coming in greener by April 2” is more useful than memory.
When to ask a local nursery or extension service for help
A home observation checklist can narrow things down, but it cannot replace seeing the plant. Reach out to a local nursery or your regional extension service when:
- Yellowing is rapid, severe, or spreading across many leaves at once.
- You confirm root rot, a clear pest infestation, or damage you cannot identify.
- The plant is valuable, slow to replace, or recently repotted, and you want a second opinion before making a bigger change.
For a question that is specific to your room, your pot, and your routine, the contact page is a good place to start.
Sources
- UC IPM — Houseplant problems
- Montana State University Extension — What does yellowing or chlorosis tell us about the health of a plant?
- University of Maryland Extension — Nutrient deficiency of indoor plants
- Mississippi State University Extension — Why are some of the leaves on my plants turning yellow?
- Colorado State University — Houseplant pests